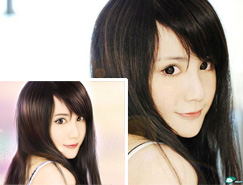
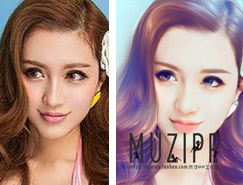
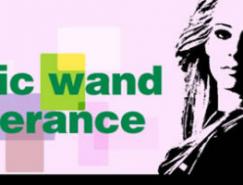
30、头发部分:
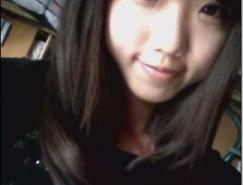
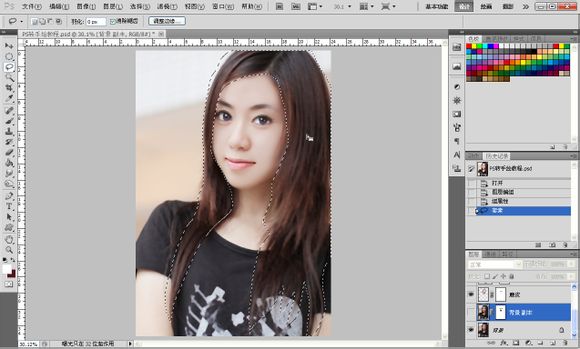
话说头发我也是硬伤,头发的方法是有很多的,这里为了省时间就介绍比较简单的一种,选择套索工具选择大概的头发轮廓,看不清楚的可以把【背景副本图层】关闭先。
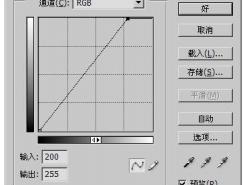
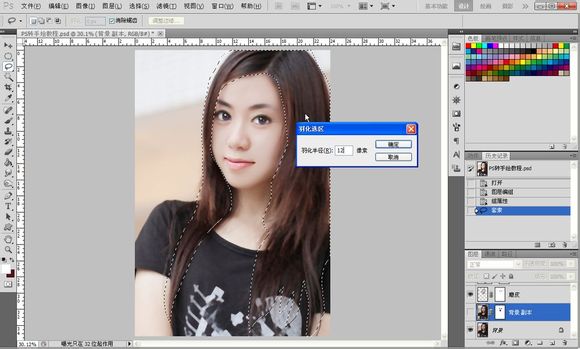
如图所示,右键羽化12个像素,选择【背景图层】按键盘上的【ctrl+j】复制,把它拖到最上面,高斯模糊直到头发纹理不清晰为止,背景副本图层显示回来。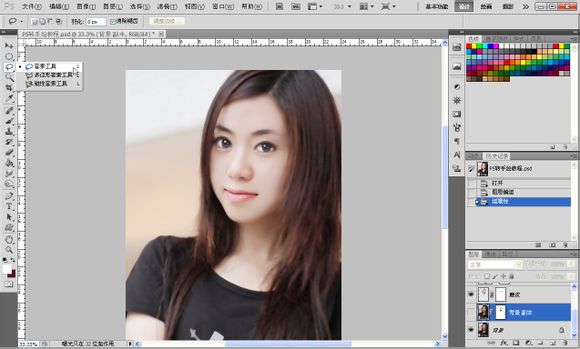

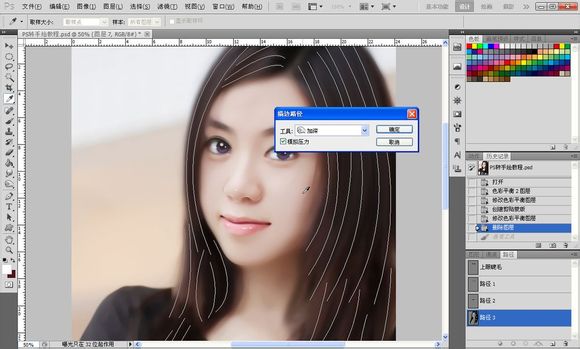
【描边路径】【选择涂抹】【模拟压力】可以描边两次,第二次可以适当降低涂抹强度,效果如图。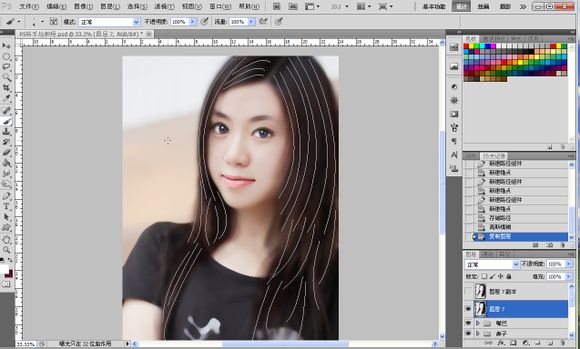


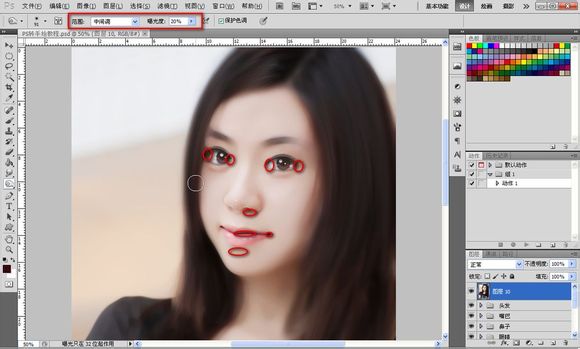
进行调节,之后按键盘的【ctrl+shift+alt+e】盖印图层做最后的调整,阴影如图用加深工具进行涂抹,再调整一下颜色就大功告成了。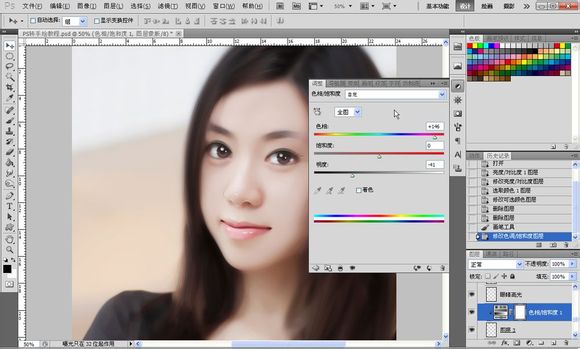
话说头发我也是硬伤,头发的方法是有很多的,这里为了省时间就介绍比较简单的一种,选择套索工具选择大概的头发轮廓,看不清楚的可以把【背景副本图层】关闭先。
如图所示,右键羽化12个像素,选择【背景图层】按键盘上的【ctrl+j】复制,把它拖到最上面,高斯模糊直到头发纹理不清晰为止,背景副本图层显示回来。


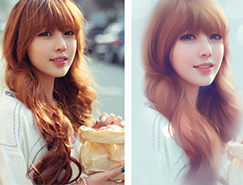
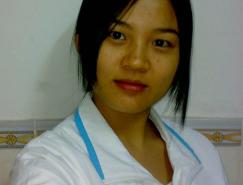
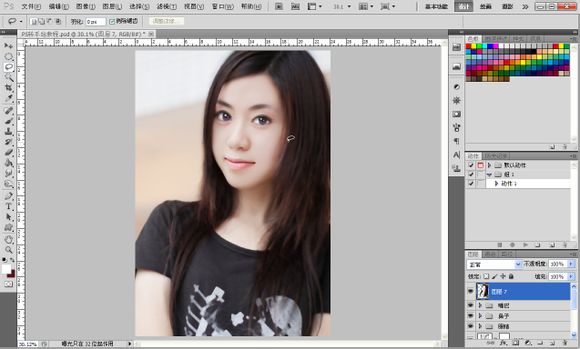
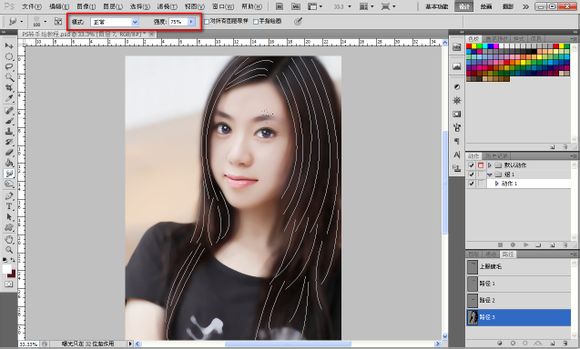
31、之后就是勾头发路径,看不见头发纹理的可以先把图层7和背景副本图层关闭,勾好之后再显示,之后选择涂抹工具,选择100号笔刷,像头发那样的,设置如图。
【描边路径】【选择涂抹】【模拟压力】可以描边两次,第二次可以适当降低涂抹强度,效果如图。


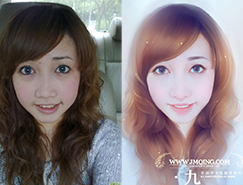
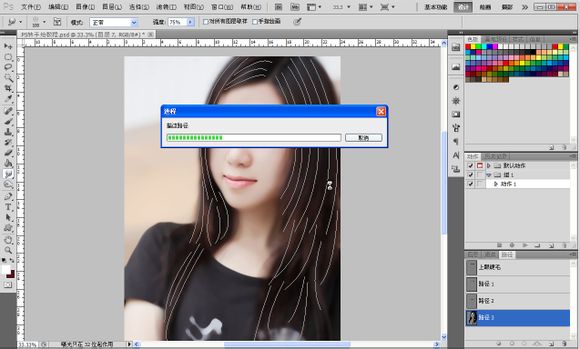
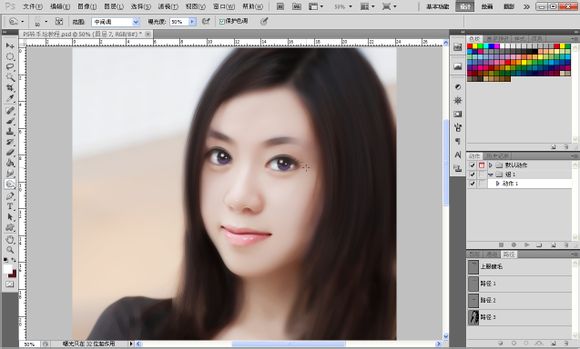
32、接着选择加深工具,选择50号笔刷,设置如图,【描边路径】【选择加深】【模拟压力】,有发丝的感觉了,哈哈,头发到此就结束了。


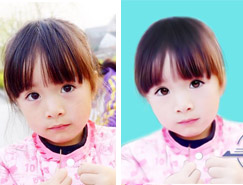
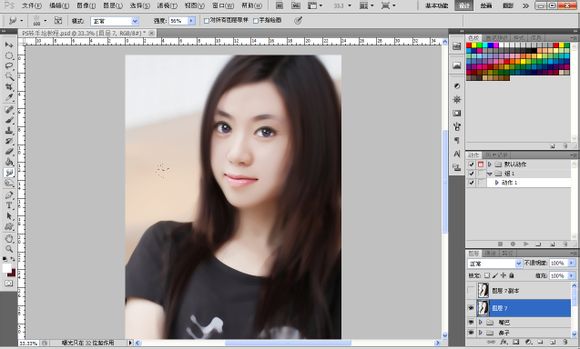
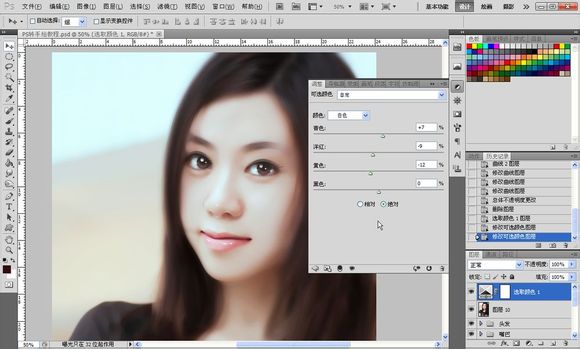
33、最后我们来做一下细微的调整,比如我不喜欢这个眼睛的颜色,那就可以选择之前创建的色相饱和度图层
进行调节,之后按键盘的【ctrl+shift+alt+e】盖印图层做最后的调整,阴影如图用加深工具进行涂抹,再调整一下颜色就大功告成了。


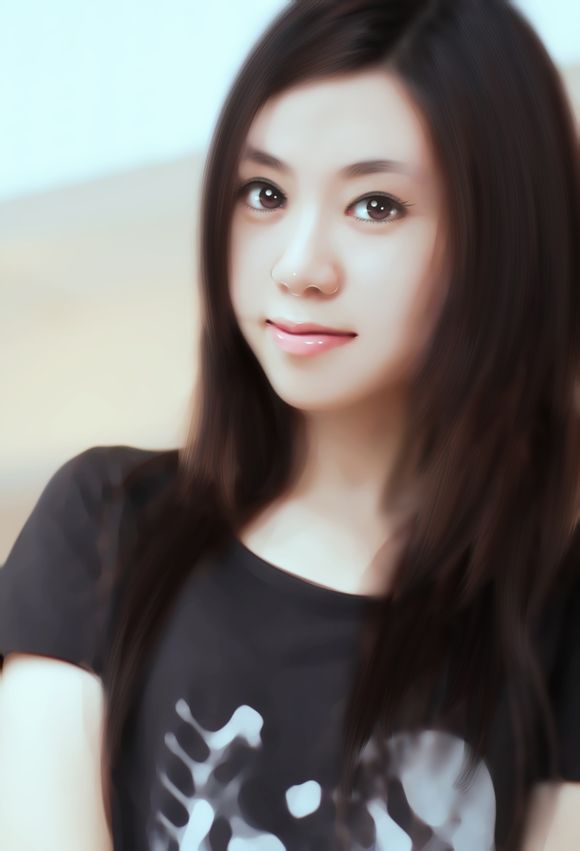
最终效果:

标签:手绘效果