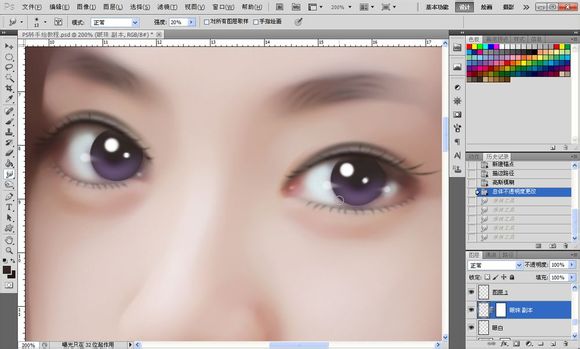
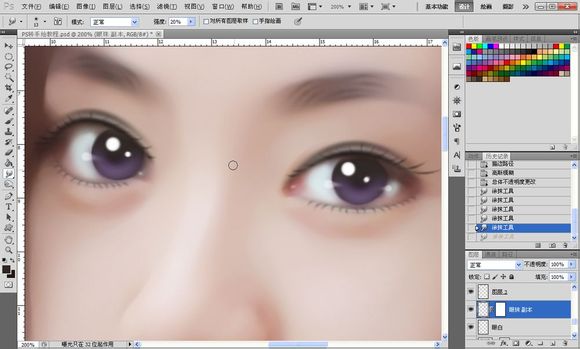
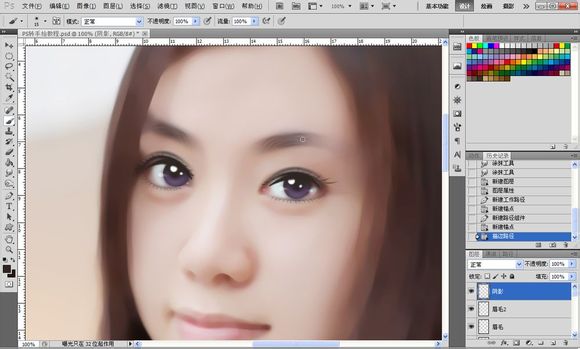
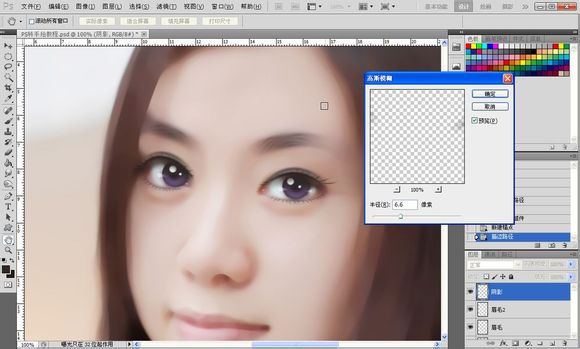
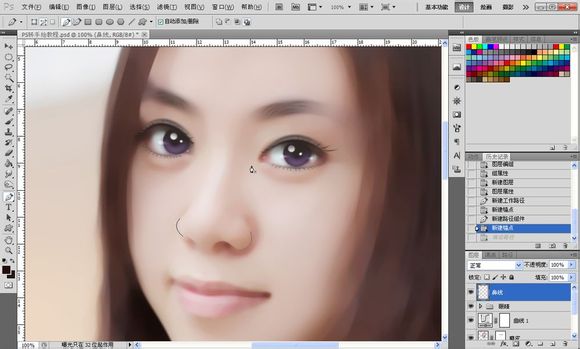
22、接着我们发现眼珠有点锐利,不够融合,选择眼珠图层,用涂抹工具涂抹边缘,效果如图所示,再次发现眼睛少了阴影,新建一个图层,命名阴影,如图勾出两条路径,画笔大小15左右,再高斯模糊一下效果如图所示,眼睛部分到此结束,【ctrl+G】把眼睛的所有图层合成【组】。
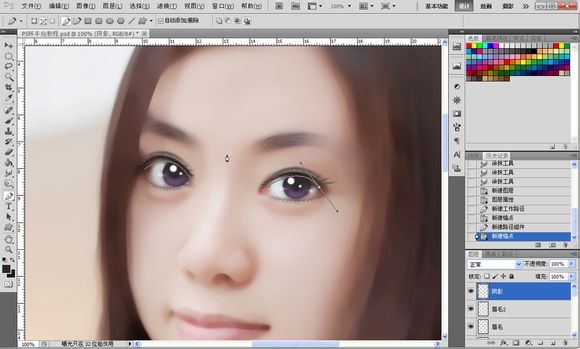
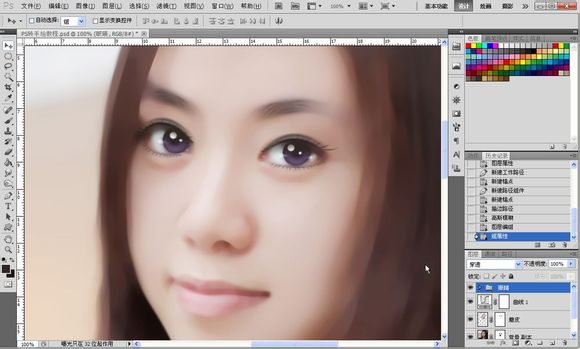
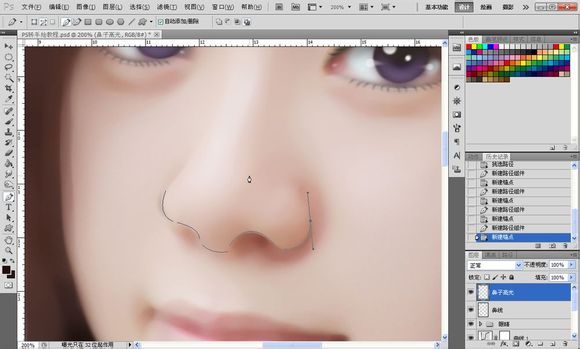
23、鼻子部分:
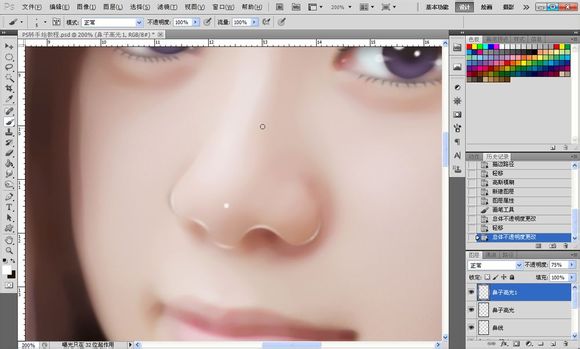
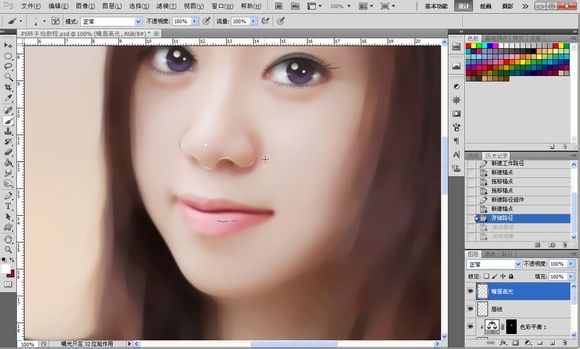
鼻子部分非常简单,我们先勾鼻线,新建图层,吸取皮肤比较深的颜色,勾出如图所示路径,描边,画笔数值2左右,降低透明度。
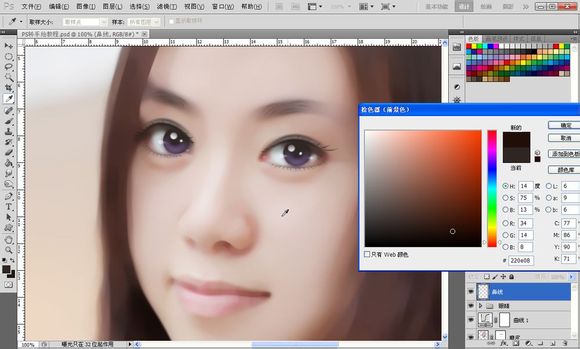

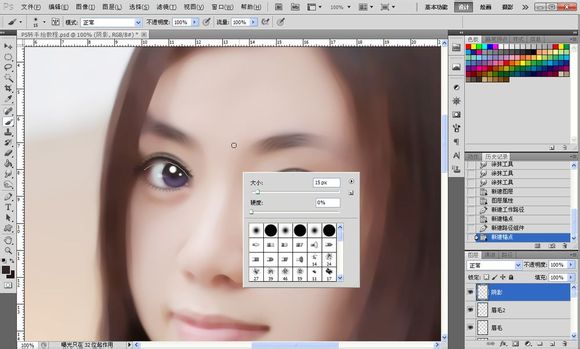
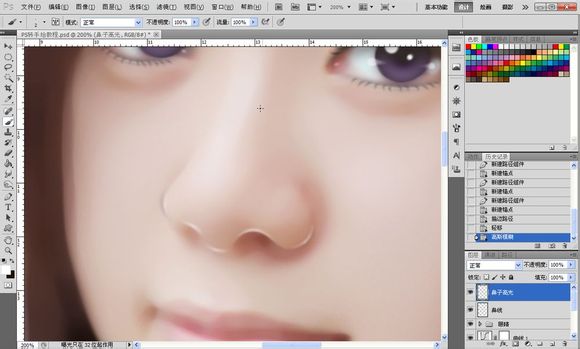
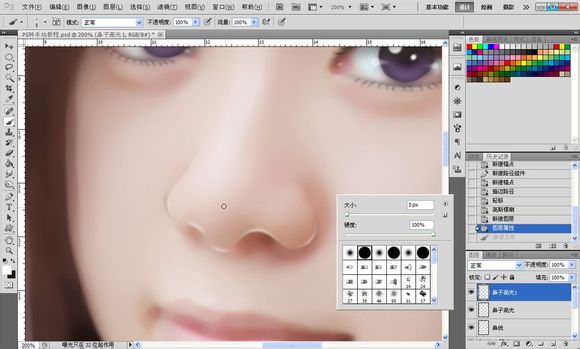
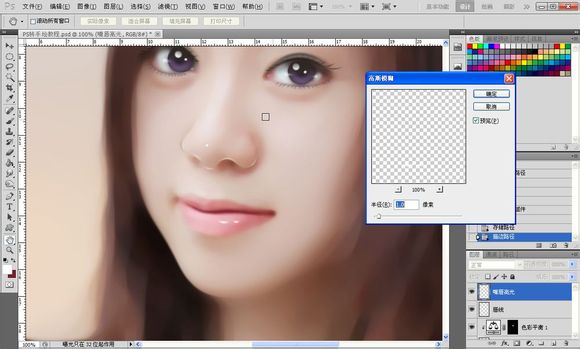
24、接下来我们做高光,勾出如图所示路径,用纯白色描边,高斯模糊一下,数值2左右,接着我们用画笔在鼻尖处点一个小点,为的是有一种水润的感觉,鼻子部分结束。
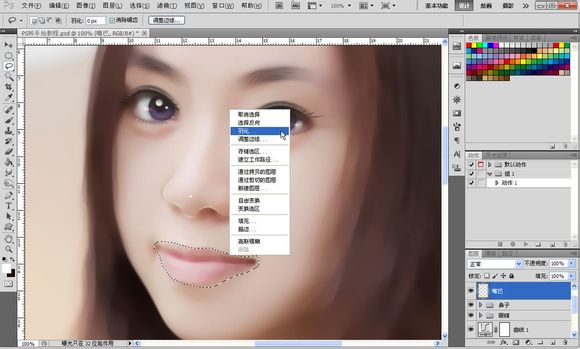
25、嘴巴部分:
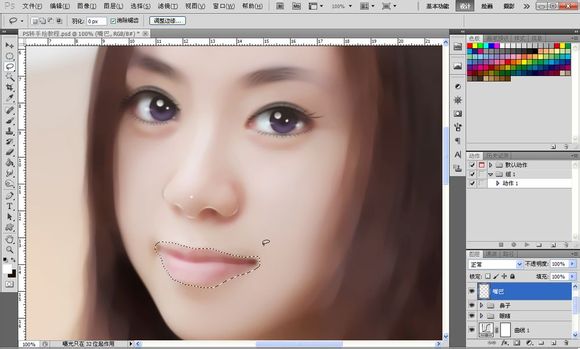
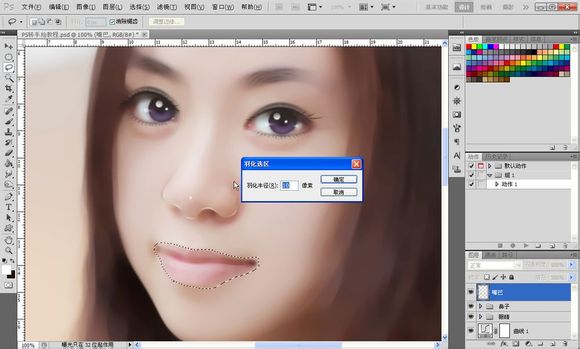
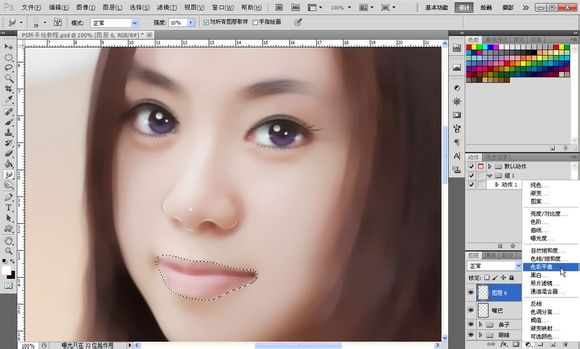
嘴巴部分也是很简单的,首先用套索工具把嘴的大概轮廓选出来,之后右键羽化10个像素。
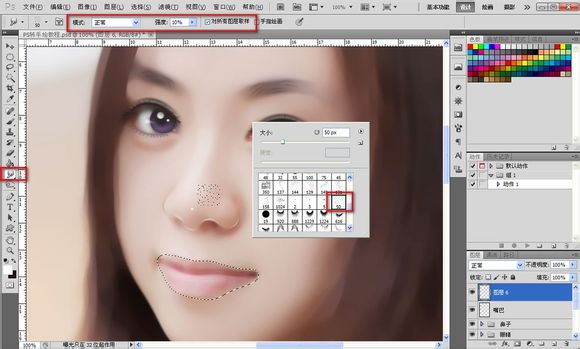
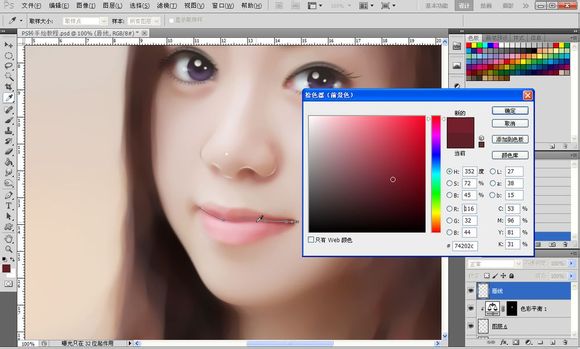
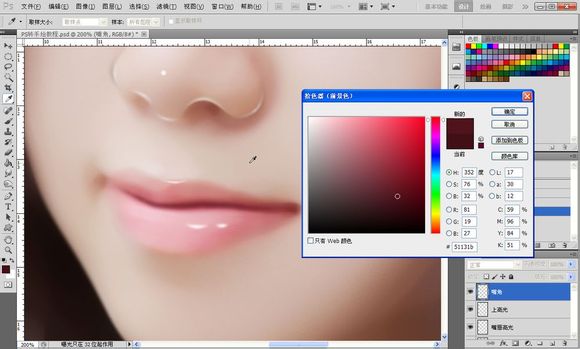
26、之后新建一个图层,选择涂抹工具,数值如图所示,勾选对所有图层采样,选择50号不规则笔刷,从左往右涂抹。这一步是为了把唇纹涂平,创建色彩平衡调整图层调一下唇色。
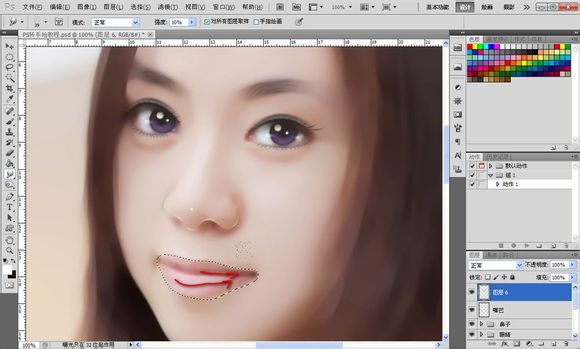

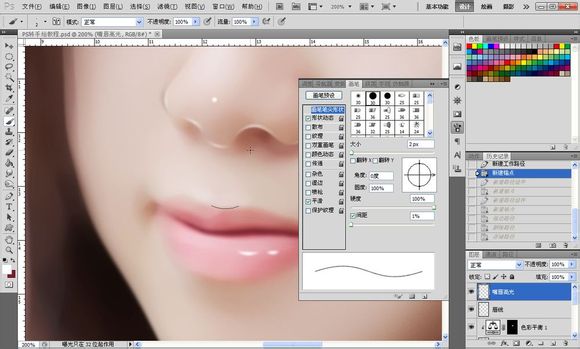
27、唇线也不难,沿着唇线勾出如图路径,选取嘴唇一个比较深的颜色,画笔设置如图所示,之后高斯模糊一下,效果如图所示。唇线的目的是为了让嘴唇更立体。

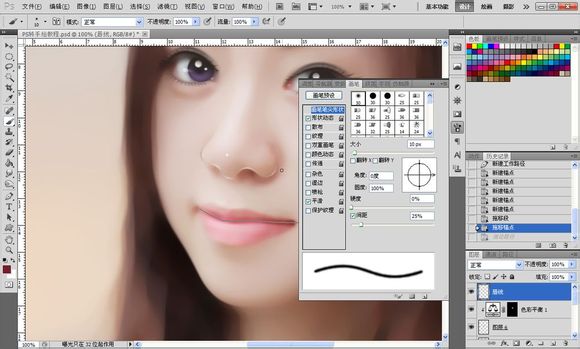

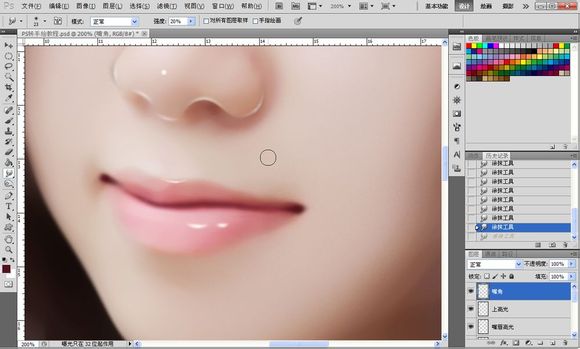
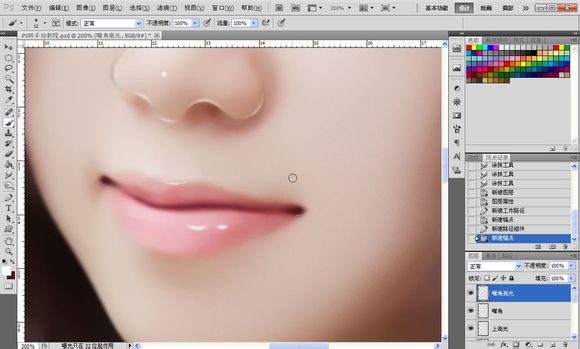
28、接下来给嘴唇加高光,勾路径,用纯白色描边,画笔设置如图,高斯模糊一下,1像素左右,上唇高光方法同上。

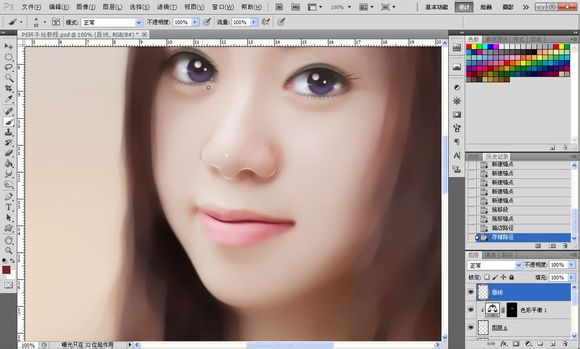
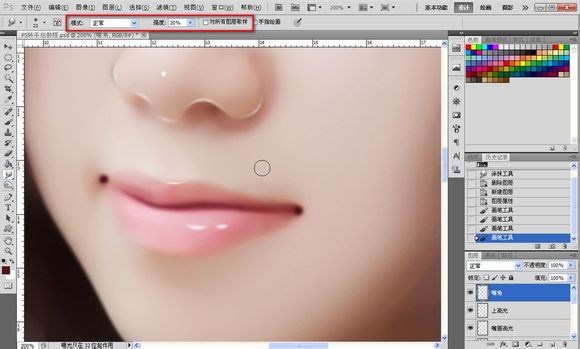
29、接下来是嘴角,用比较深的皮肤颜色点两个小圆,用涂抹工具涂抹向反方向涂抹如图所示,在下面勾两条小路径做嘴角高光,2像素左右,好了五官的处理到此结束。


标签:手绘效果