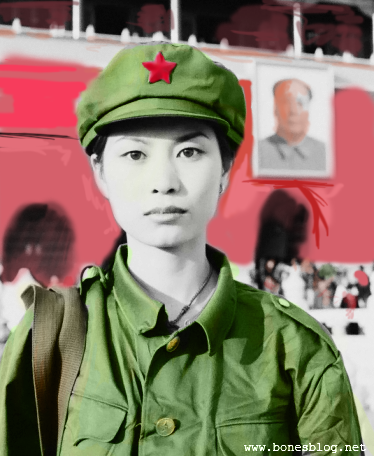
新建图层,在图层上先为军装上色,尽量着一些同类色进行绘制,这样可以使得上色看起来颜色比较丰富。
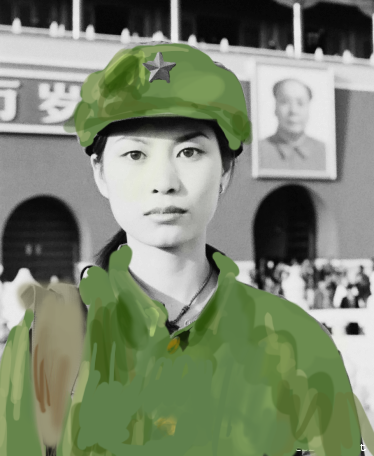
将改图层的图层混合模式改为“颜色”
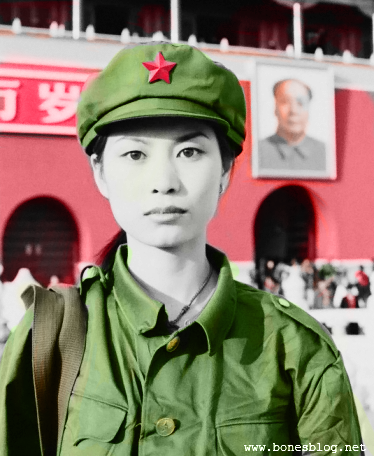
其实这一步并不是先画好了,再改成“颜色”模式的,而是直接在“颜色”模式绘制的。这样能够比较直接的看到结果。
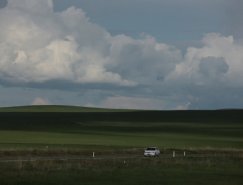
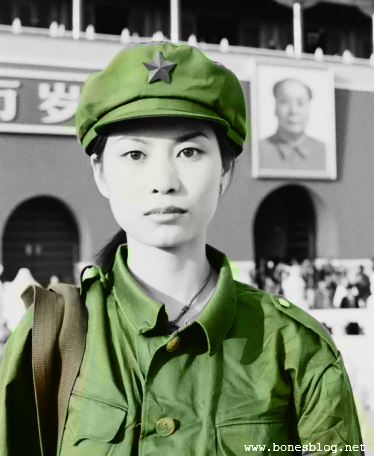
为了上色更加的容易修改,再新建图层,对背景上色
改为颜色模式后
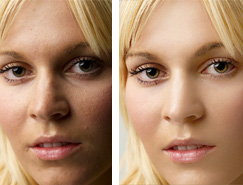
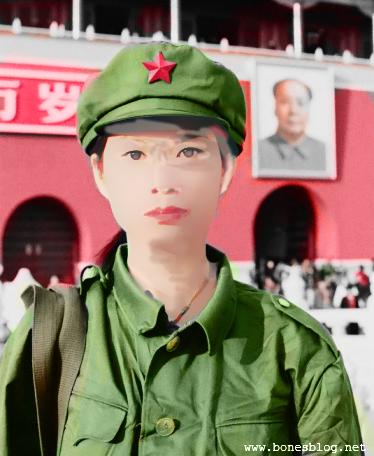
同样的新建图层,为脸部上色
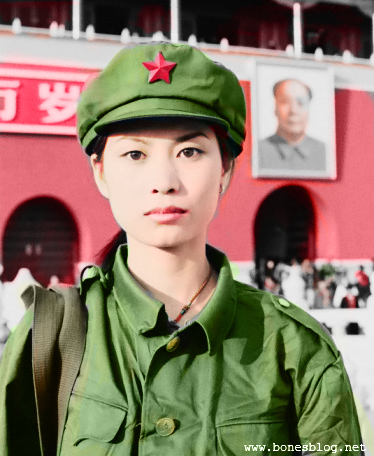
改为颜色模式后,这就是最后上色的结果。
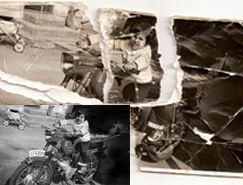
标签:修复
新建图层,在图层上先为军装上色,尽量着一些同类色进行绘制,这样可以使得上色看起来颜色比较丰富。