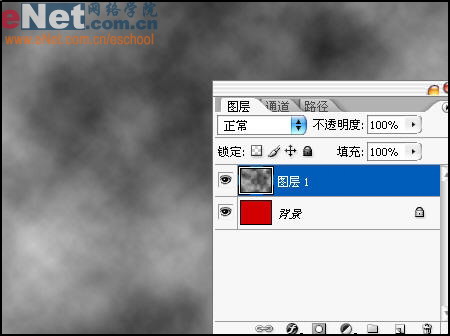
下面我们将用photoshop的各种扭曲功能,将文字做得像是快要累趴下了的样子。新建工作窗口,然后在背景图层填充红色。按“D”键恢复前景色和背景色为默认值,新建图层1执行“滤镜”→“渲染”→“云彩”命令。
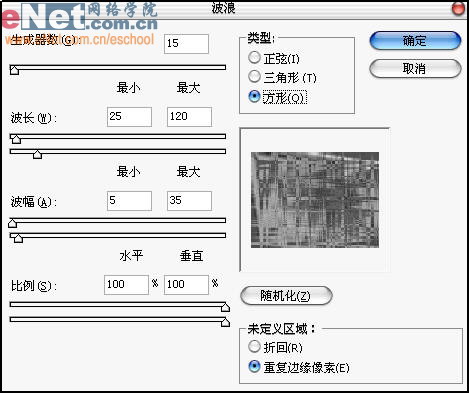
下面执行“滤镜”→“扭曲”→“波浪”命令。如图设置弹出对话框。
按“Ctrl+U”键,在弹出的对话框中勾选“着色”复选框。设置色相为23,饱和度为25,明度为-26。

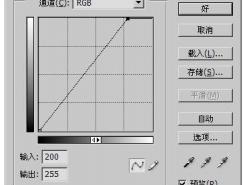
按“Ctrl+M”键打开曲线面板,调节曲线为如图所示“S”形。

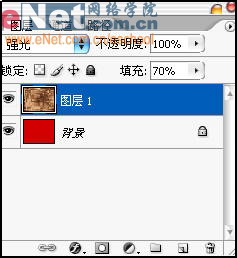
现在设置图层1混合模式为“强光”,填充为70%。
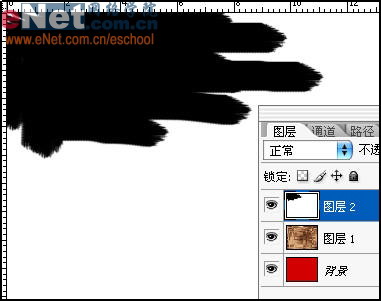
新建图层2,并填充白色,选择画笔工具,用黑色画笔在图层2随意绘制黑色图像。
标签:疲软