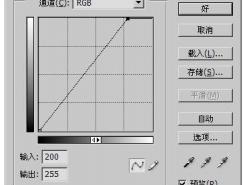


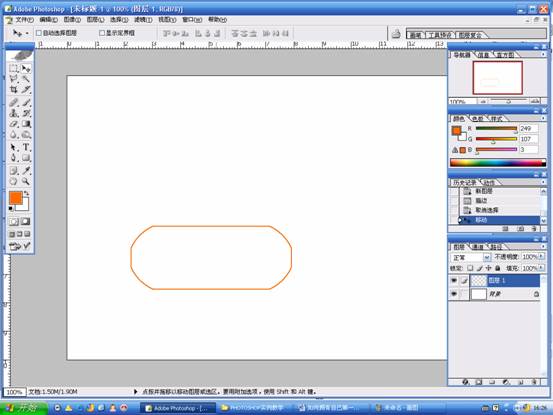
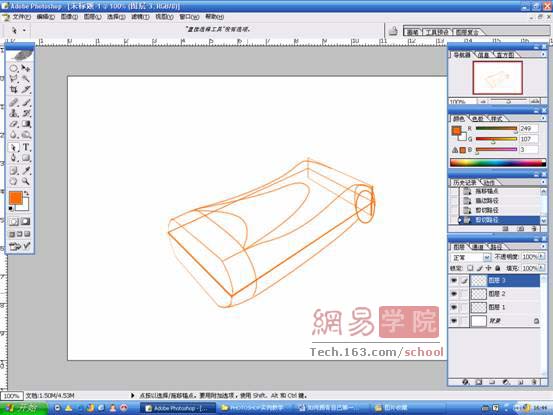
上面的结构图做法是:
用矩形选框工具画出选区后圆角化,描边。绘制刀头
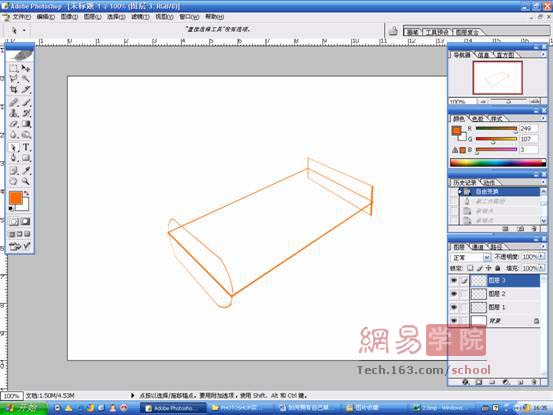
自由变换,按住CTRL键和鼠标左键拖拽如下图所示:

此时的图形已经表现出了透视效果。依据整体形态,绘制主框架。
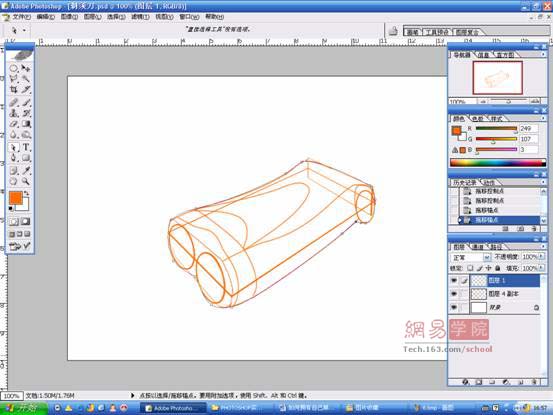
用钢笔工具勾画出曲线部分:

在钢笔工具下右键---描边路径,在工具选择对话框中选择画笔。确定后,即可将设定好的画笔笔触描到当前路径上。
逐步刻画
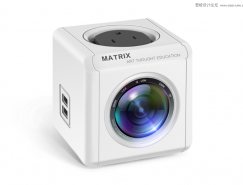
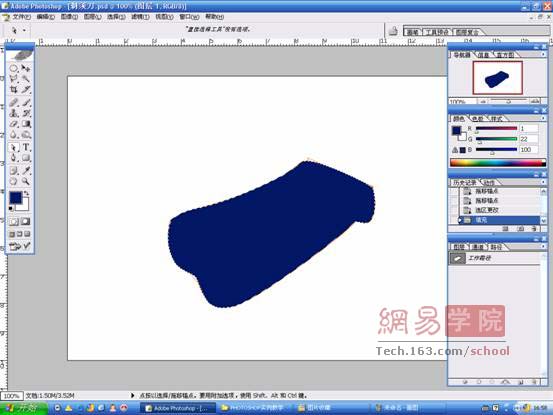
用钢笔工具钩出物体主体部分,转换为选区:

新建图层,命名为:主体。用RGB值为:1.22.100的颜色填充
隐藏主体层,新建一图层,命名为“白”
根据物体的明暗和结构图,在交界比较明显的部位用钢笔工具钩出路径,转换为选区。
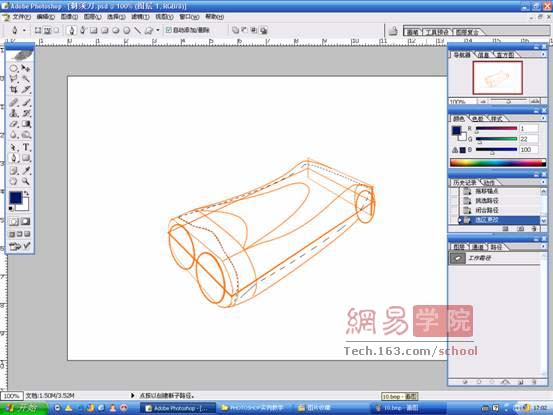
用画笔工具设定好不透明度、主直径、硬度后,在该层上仔细添加白色。


扫码关注公众号 获取更多设计资源...
↓↓↓
【白嫖福利 | 限时领取】
摹客超级版会员(价值1250元)解锁摹客协作、摹客RP、摹客DT所有功能。
公众号主页发送 “激活” 免费获取 激活码
↓↓↓
公众号主页发送 “字体” 获取 全套可商用字体包...
↓↓↓
公众号主页发送 “vi” 获取 500个著名品牌vi设计手册...
↓↓↓
【白嫖福利 | 限时领取】
摹客超级版会员(价值1250元)解锁摹客协作、摹客RP、摹客DT所有功能。
公众号主页发送 “激活” 免费获取 激活码
↓↓↓
公众号主页发送 “字体” 获取 全套可商用字体包...
↓↓↓
公众号主页发送 “vi” 获取 500个著名品牌vi设计手册...
标签:鼠绘