


1,新建白色背景。大小自定,建议初学者建像素为640*480。
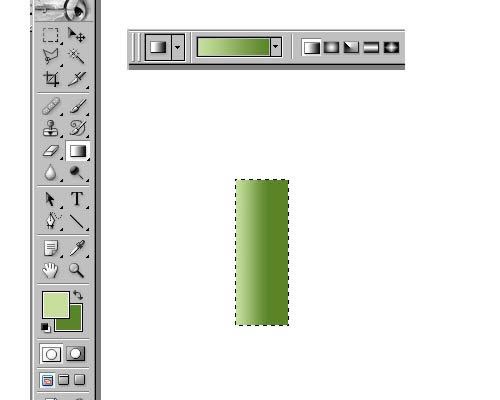
2,用矩形选择工具在画定一长方形,并建一新层。
3,选择两种不同的青绿色,在矩形中做线形渐变。
如图:
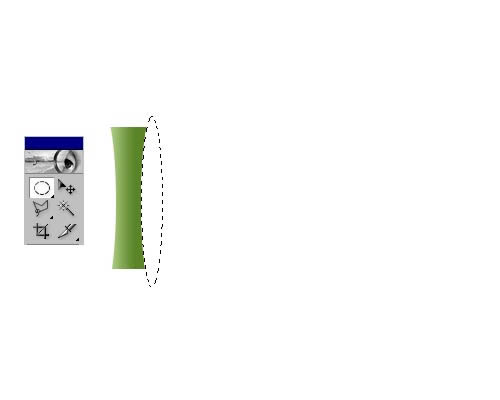
4,利用椭圆选框工具,将图上矩形做以处理,使之圆润自然。
5,用圆形先框工具简单做出竹节。

6,如法炮制或做以复制,注意层之间的顺序。

7,复制形成竹林效果。
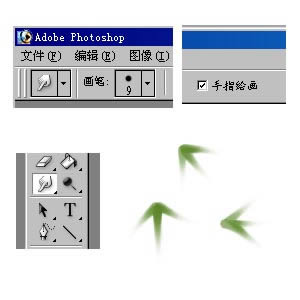
8,制作竹叶。选择工具中的涂抹工具,掌握力与画笔的大小力度。
9,加附水波效果。

10,根据个人爱好可以继续修饰成稿。
我比较喜欢夜晚的感觉效果,
滤镜――渲染――光照效果――蓝色全光源

再加以星光处理


扫码关注公众号 获取更多设计资源...
↓↓↓
【白嫖福利 | 限时领取】
摹客超级版会员(价值1250元)解锁摹客协作、摹客RP、摹客DT所有功能。
公众号主页发送 “激活” 免费获取 激活码
↓↓↓
公众号主页发送 “字体” 获取 全套可商用字体包...
↓↓↓
公众号主页发送 “vi” 获取 500个著名品牌vi设计手册...
↓↓↓
【白嫖福利 | 限时领取】
摹客超级版会员(价值1250元)解锁摹客协作、摹客RP、摹客DT所有功能。
公众号主页发送 “激活” 免费获取 激活码
↓↓↓
公众号主页发送 “字体” 获取 全套可商用字体包...
↓↓↓
公众号主页发送 “vi” 获取 500个著名品牌vi设计手册...
标签:Photoshop