


光斑人像需要营造一个比较暗的环境,处理之前用较暗的画笔把人物杂乱的背景涂暗;然后把图片柔化处理;再用彩色色块及光斑叠加给人物加上梦幻的色彩。
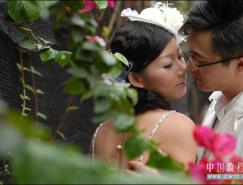
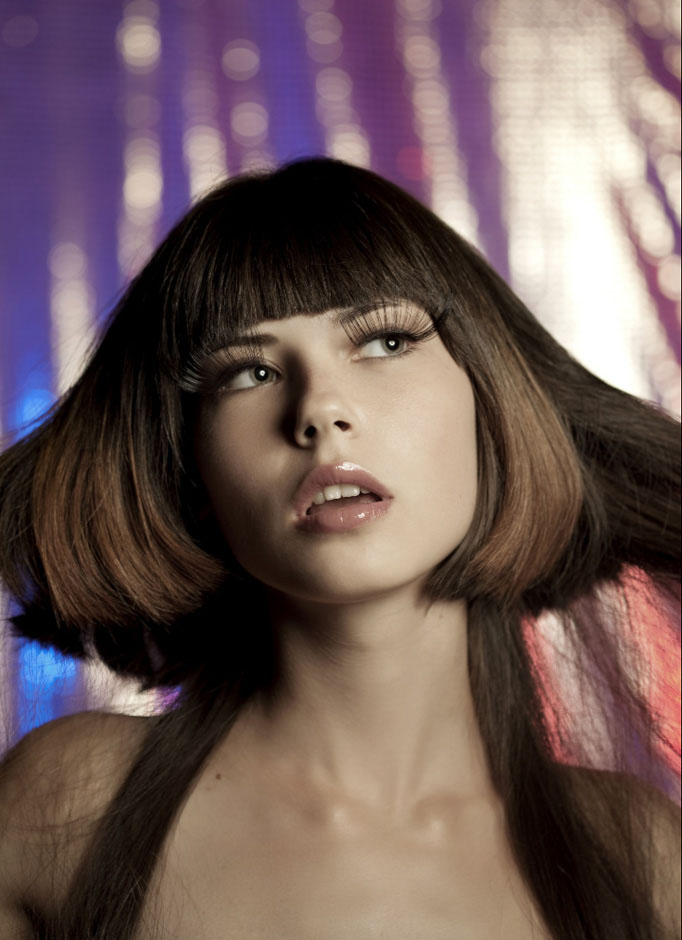
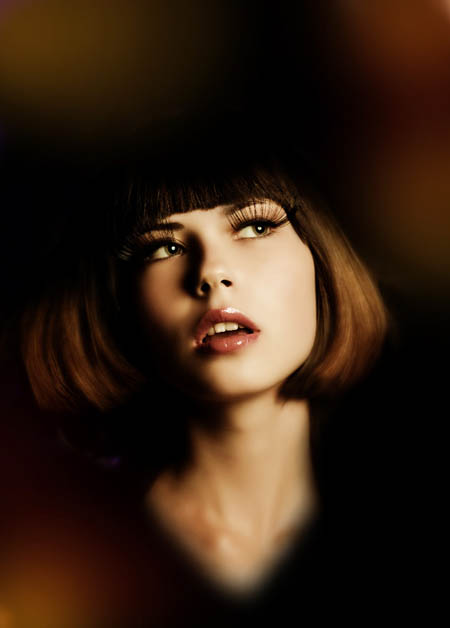
原图
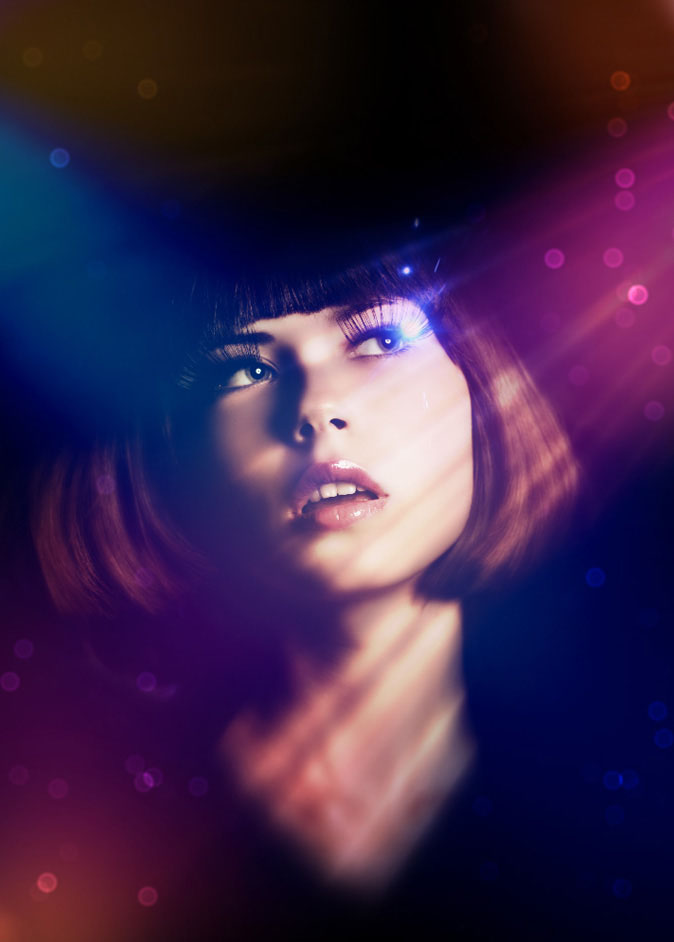
最终效果
1、首先打开原图素材。

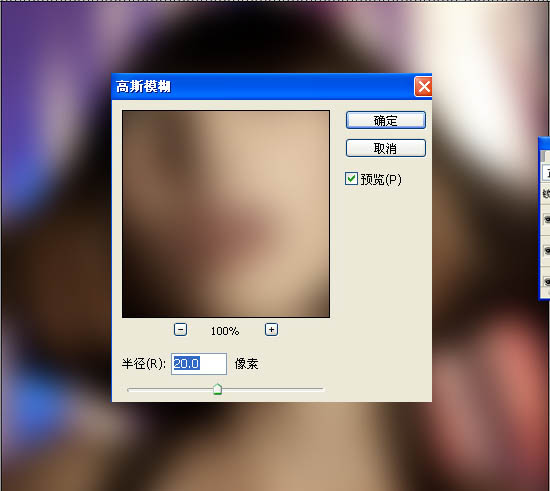
3、复制层的女孩,滤镜“模糊”高斯模糊。复使用半径为20。这里的想法是使女孩的皮肤变光滑。
4、选中模糊图层,“添加图层蒙板。然后用画笔工具(B)和一个非常柔软的刷子。,开始画层对眼睛,鼻子和嘴口罩,以隐藏模糊层。这应该不是非常难现实的,所以不会有任何问题。
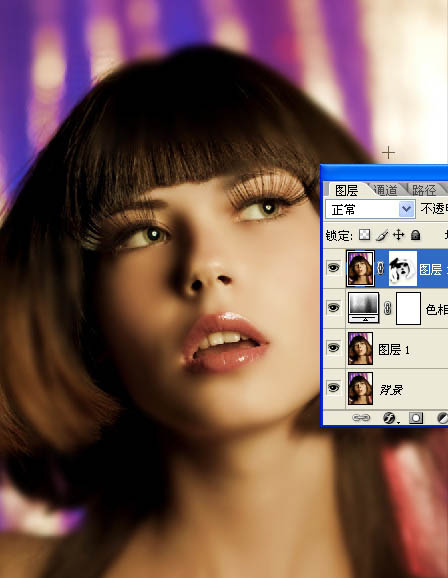
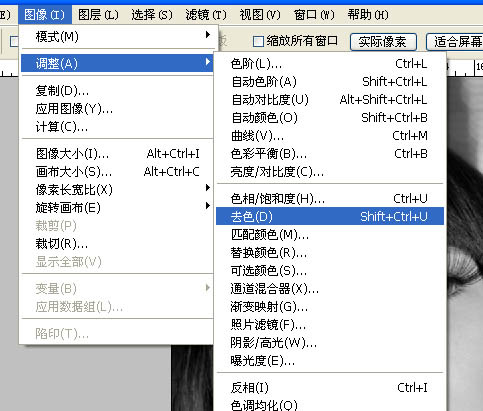
5、复制该层,进入图像“>去色。此后,改变其混合为柔光。
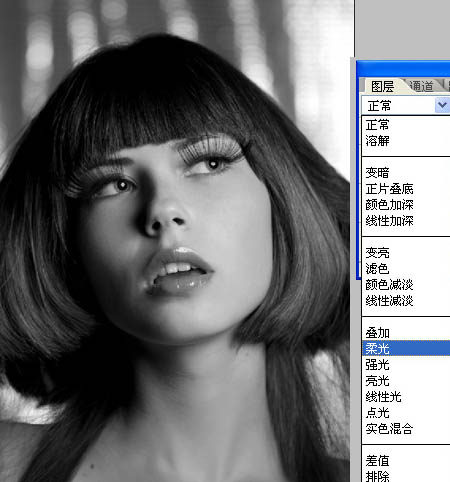
6、添加一个新层,用画笔工具(B)和相同的软刷,开始画有黑色,以掩盖其背景。留给她的头发和颈部只是她的脸。只留她的头发和颈部只是她的脸。下面是参考图像。
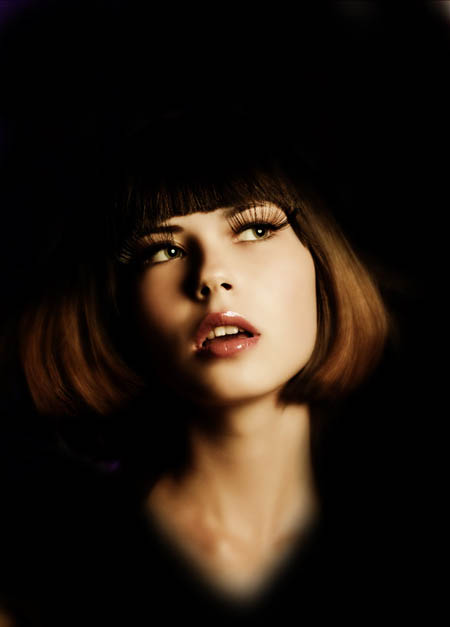
7、添加一新层,用刷子工具,在上面留下画有红色和橙色的底端。
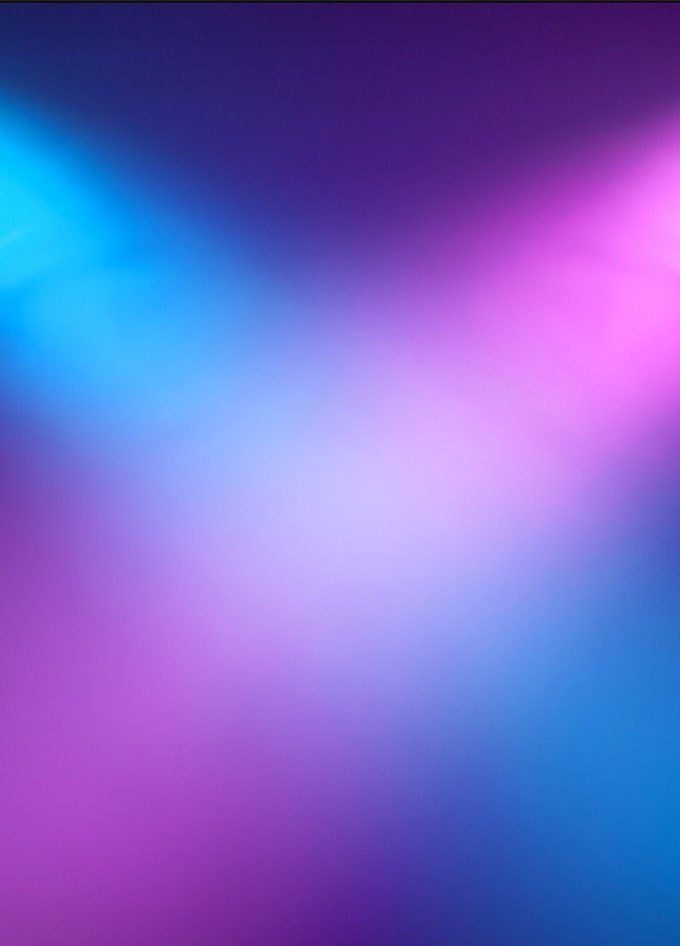
8、用渐变工具拉出一下颜色,也可以直接用下图所示的素材。
9、更改不透明度为40%。
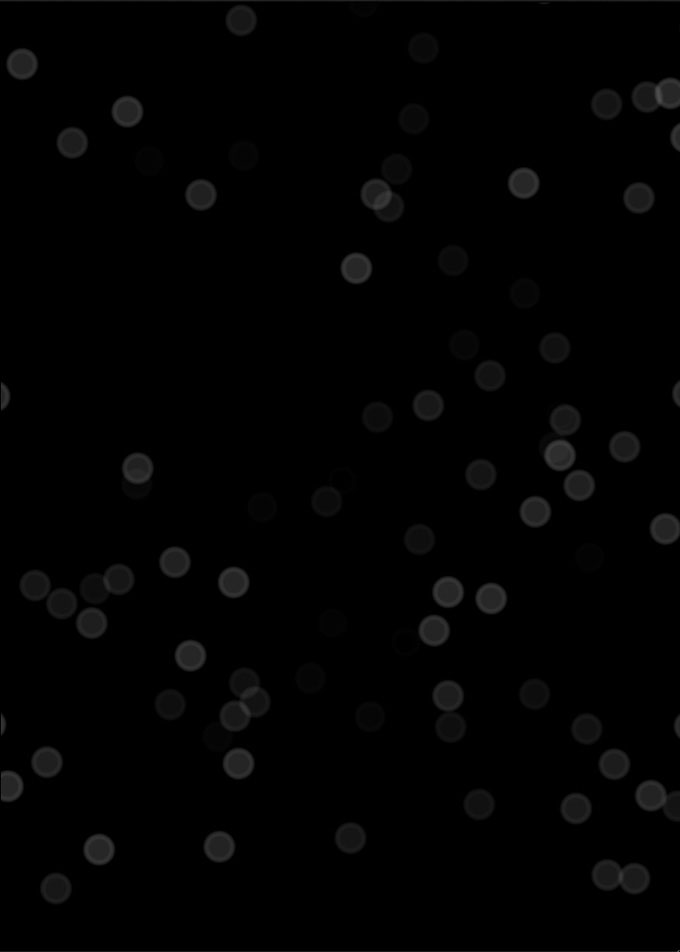
10、然后添加一些光斑,混合模式改为颜色减淡,在眼睛部位添加一个小光晕。
最后在添加一些光线,完成最终效果。
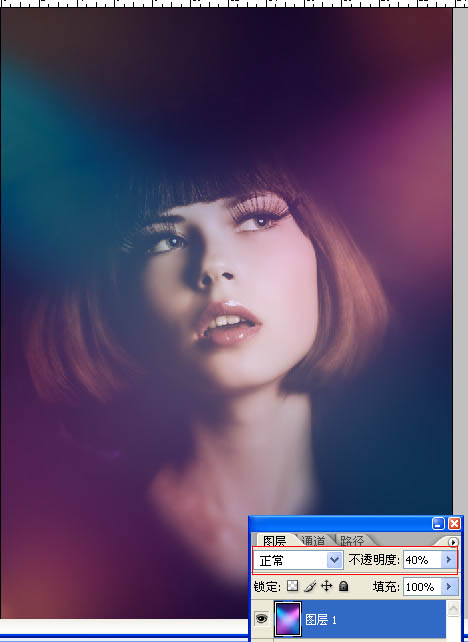
原图

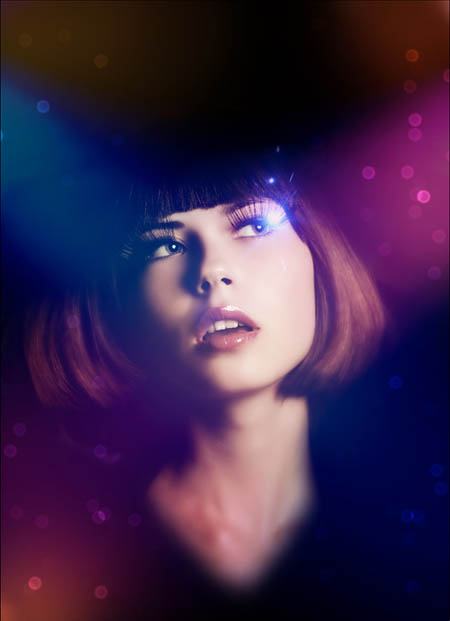
最终效果

1、首先打开原图素材。
2、复制层的女孩,图像>”色相和饱和度。增加饱和度为20。

3、复制层的女孩,滤镜“模糊”高斯模糊。复使用半径为20。这里的想法是使女孩的皮肤变光滑。

4、选中模糊图层,“添加图层蒙板。然后用画笔工具(B)和一个非常柔软的刷子。,开始画层对眼睛,鼻子和嘴口罩,以隐藏模糊层。这应该不是非常难现实的,所以不会有任何问题。

5、复制该层,进入图像“>去色。此后,改变其混合为柔光。


6、添加一个新层,用画笔工具(B)和相同的软刷,开始画有黑色,以掩盖其背景。留给她的头发和颈部只是她的脸。只留她的头发和颈部只是她的脸。下面是参考图像。

7、添加一新层,用刷子工具,在上面留下画有红色和橙色的底端。

8、用渐变工具拉出一下颜色,也可以直接用下图所示的素材。

9、更改不透明度为40%。

10、然后添加一些光斑,混合模式改为颜色减淡,在眼睛部位添加一个小光晕。


最后在添加一些光线,完成最终效果。

扫码关注公众号 获取更多设计资源...
↓↓↓
【白嫖福利 | 限时领取】
摹客超级版会员(价值1250元)解锁摹客协作、摹客RP、摹客DT所有功能。
公众号主页发送 “激活” 免费获取 激活码
↓↓↓
公众号主页发送 “字体” 获取 全套可商用字体包...
↓↓↓
公众号主页发送 “vi” 获取 500个著名品牌vi设计手册...
↓↓↓
【白嫖福利 | 限时领取】
摹客超级版会员(价值1250元)解锁摹客协作、摹客RP、摹客DT所有功能。
公众号主页发送 “激活” 免费获取 激活码
↓↓↓
公众号主页发送 “字体” 获取 全套可商用字体包...
↓↓↓
公众号主页发送 “vi” 获取 500个著名品牌vi设计手册...
标签:光斑人像