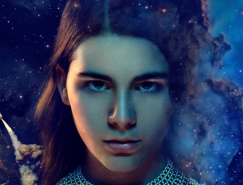


效果图非常有个性,都是用一些类似喷溅的纹理组合得到,人物部分也经过特殊处理,用滤镜处理成特殊纹理效果,再给局部上色,非常有个性。
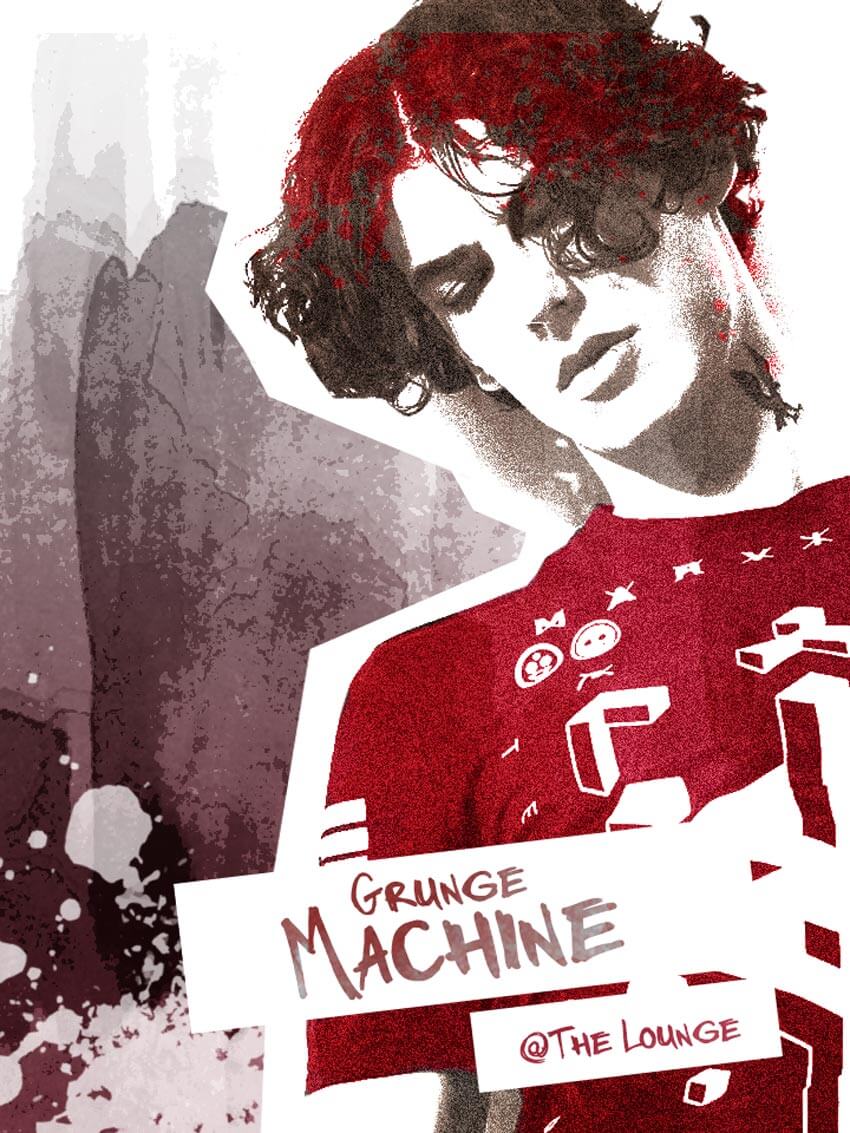
最终效果
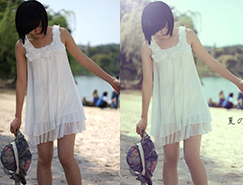
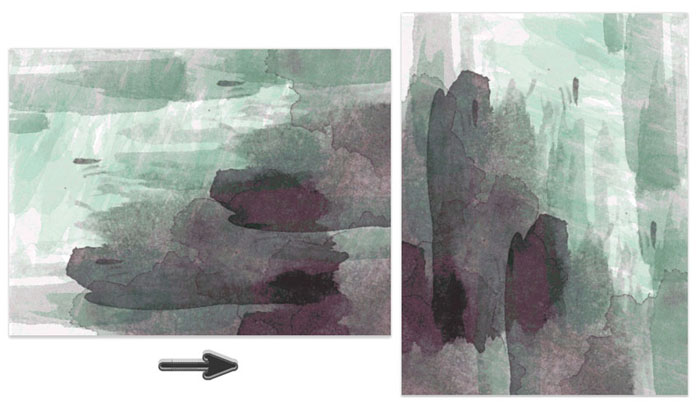
1、在Photoshop中打开水彩素材,选择“图像>图像旋转>顺时针90度”,将素材纹理方向由横向改为纵向。
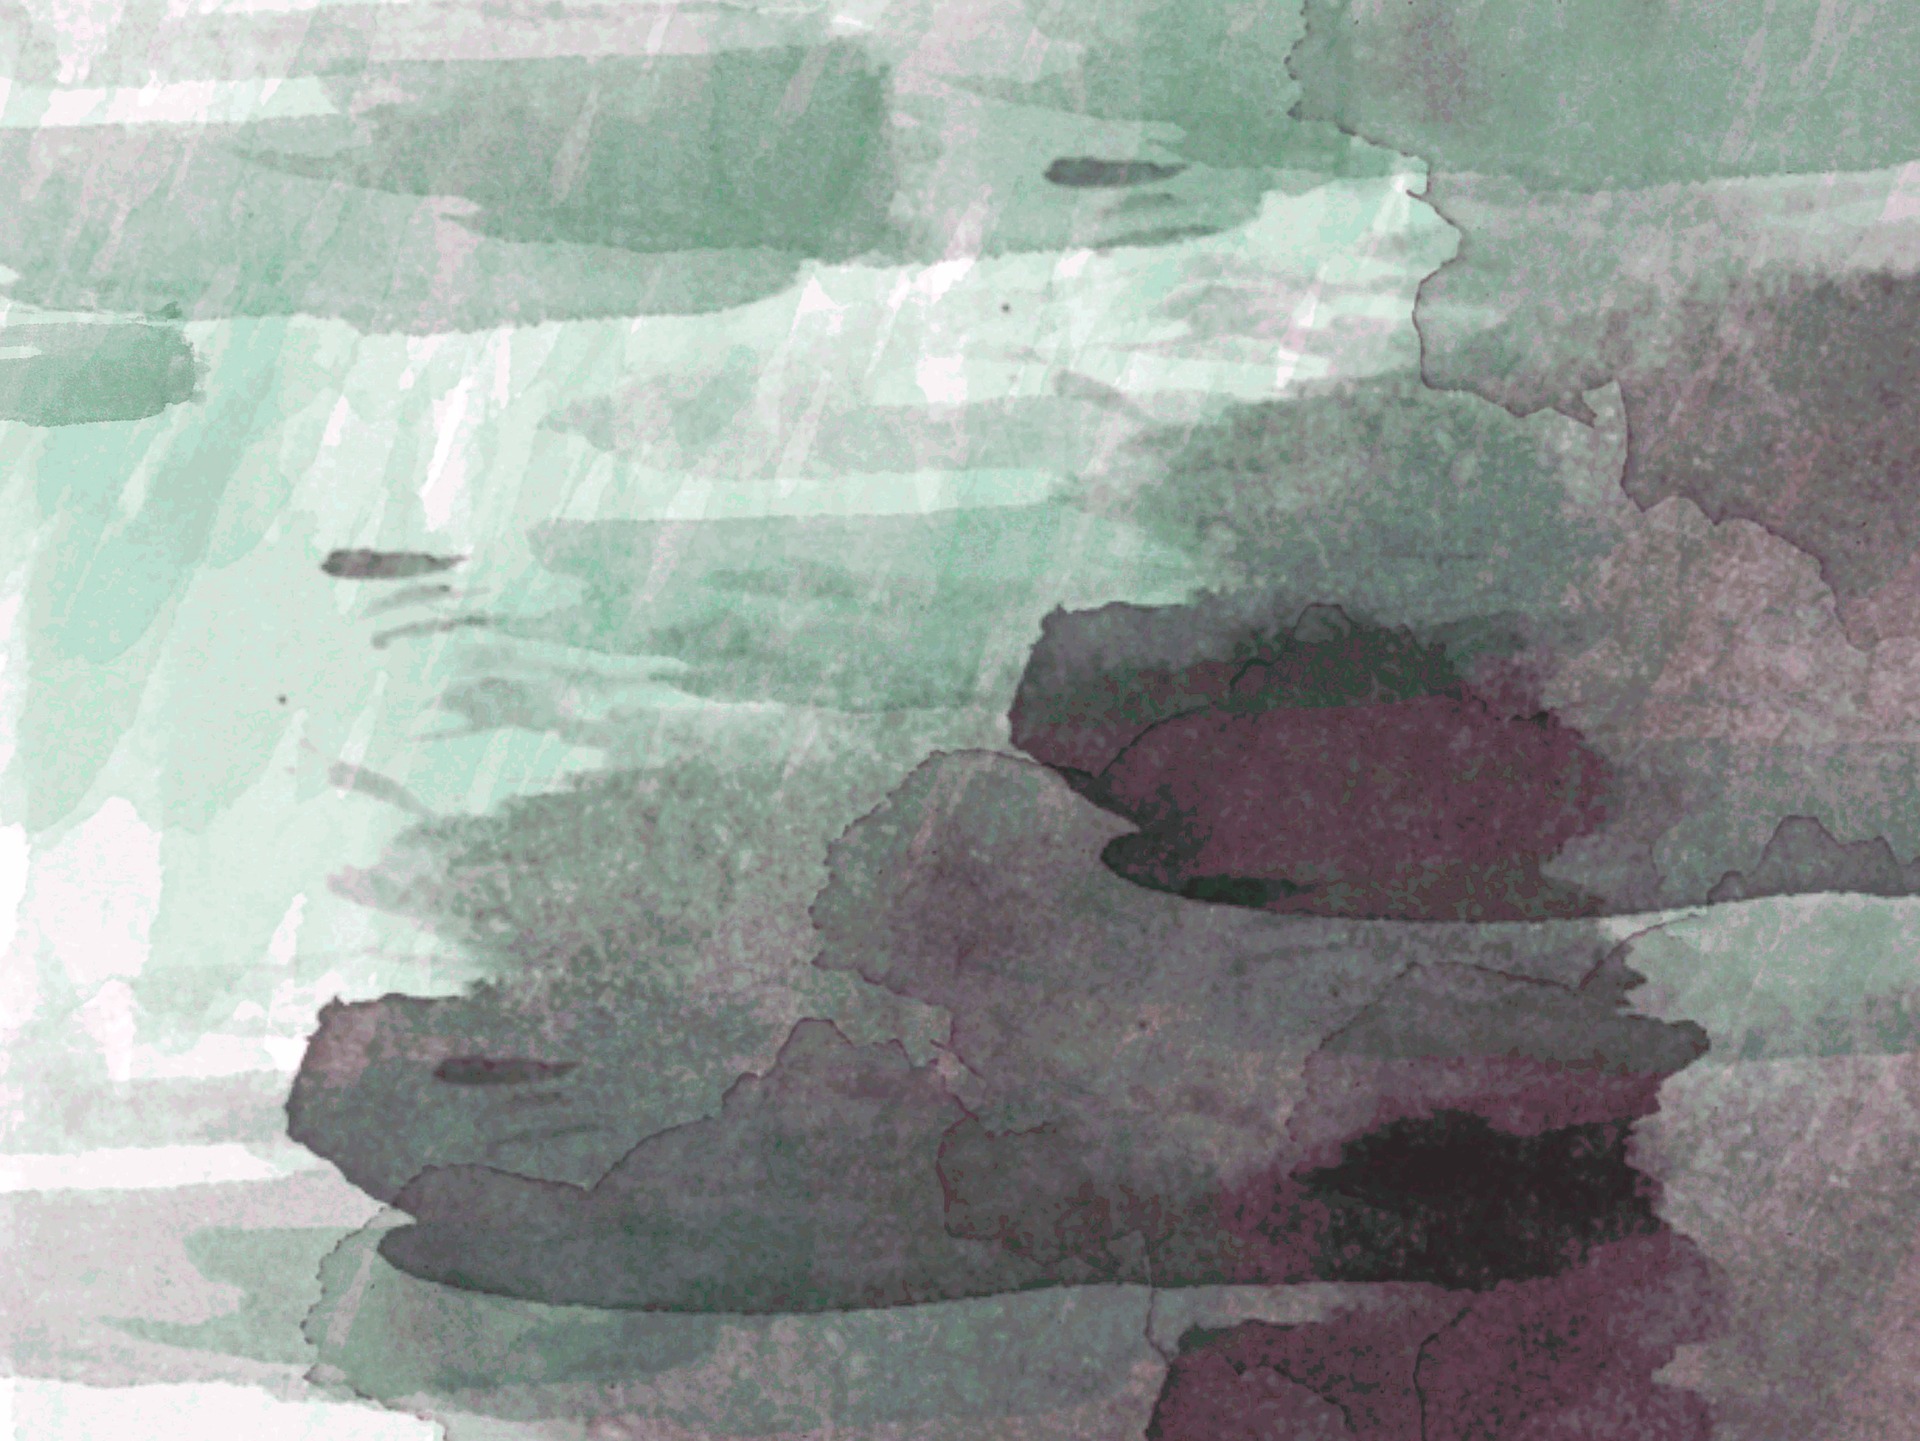
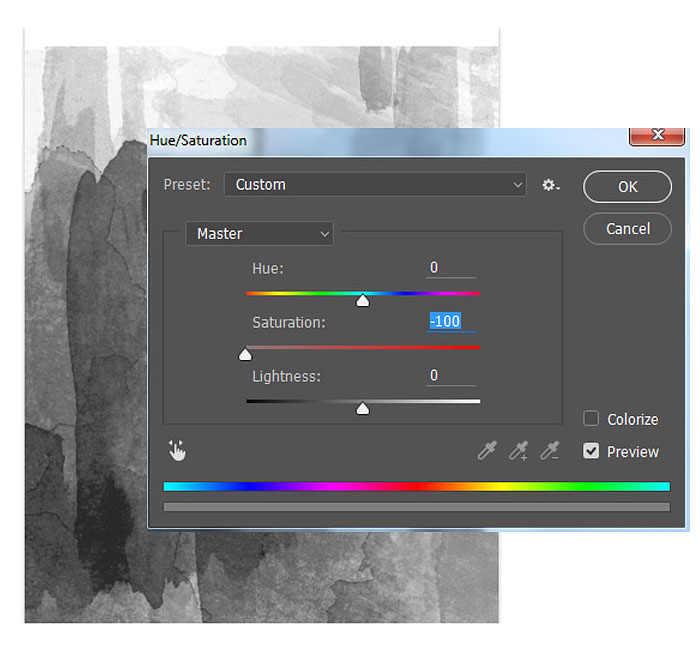
2、水彩素材将作为特效的背景,因此需要降低它的饱和度。选择“图像>调整图层>色相/饱和度”,降低饱和度至-100,将素材变为黑白效果。选择移动工具,将素材往下移,将背景底部的白色显示出来。
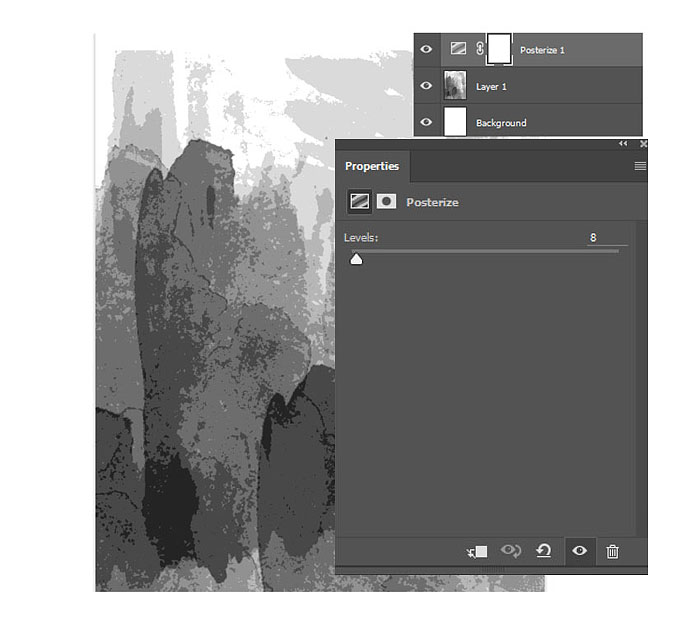
3、在图层面板中选择创建色调分离图层,色阶为8创建出垃圾摇滚特效。
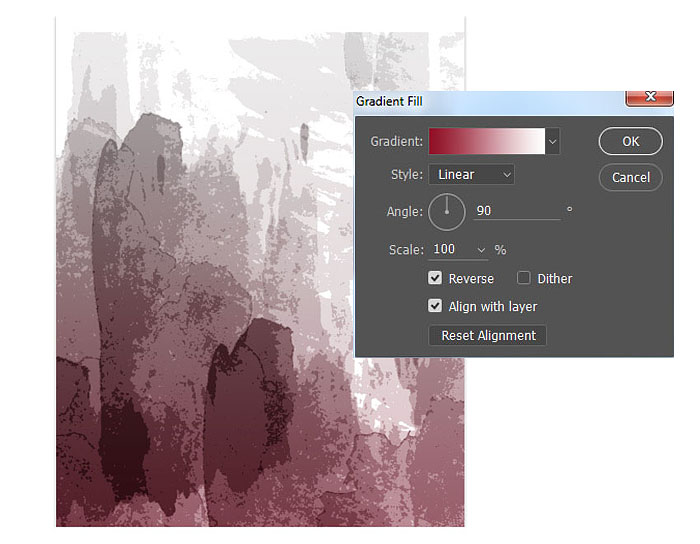
4、创建渐变调整图层,选择线性渐变模式,创建渐变颜色为深红色#901026到白色。完成后,设置渐变调整图层的混合模式为柔光。

4、应用完上面滤镜后增强了图像的对比度和亮度。再次应用胶片颗粒滤镜,设置颗粒0、高光区域5、强度10。
2、创建新图层,设置混合模式为颜色,右击创建为摇滚歌手图层的剪贴蒙版。选择硬笔刷,设置颜色为#d14456,将歌手的T恤涂红。
3、对着红色图层右击选择混合选项,为了让颜色更加好看,对T恤添加线性渐变叠加,设置如下图。
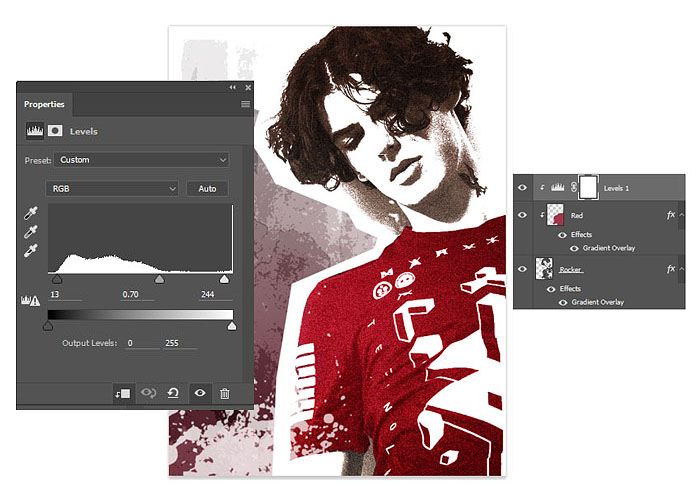
4、为了进一步激发这种效果,创建色阶调整图层,并设置为剪贴蒙版。如下图调整RGB通道。
四、润色
<点小图查看大图>
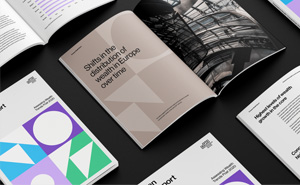
3、选择矩形工具,在人物右下角添加两个白色长方形。待会要在上面添加文字。

4、下载字体Marker Twins或者Grunge Fonts。然后根据喜好输入文字。这里要为文字添加底纹效果。将黑白效果的水彩背景复制创建为新图层,这里操作两次。其中一个复制背景设置为文字图层的剪贴蒙版,设置复制背景图层的混合模式为加亮。
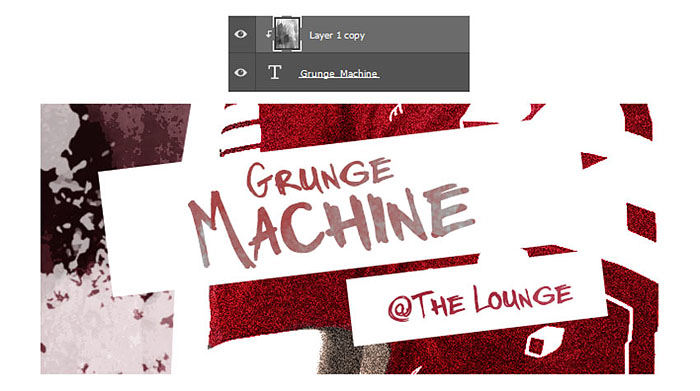
5、将另外一个背景复制图层移动到图层组上方,设置混合模式为柔光。这样可以为画面添加更多的垃圾摇滚风格化元素。
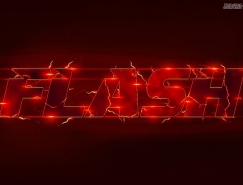
最终效果:
最终效果

一、创建背景
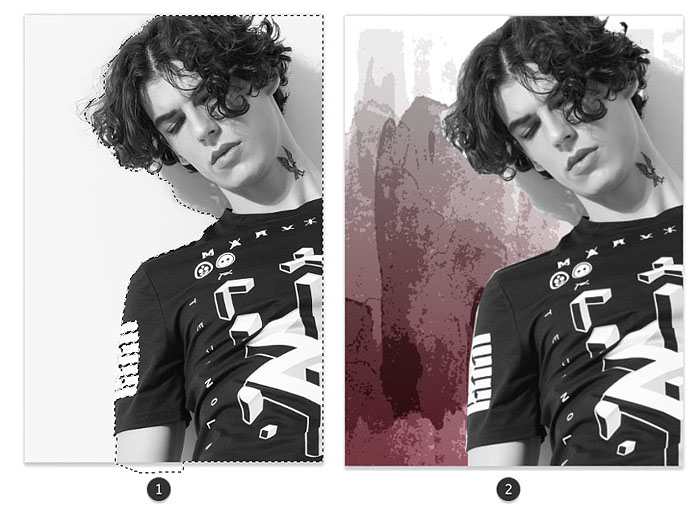
1、在Photoshop中打开水彩素材,选择“图像>图像旋转>顺时针90度”,将素材纹理方向由横向改为纵向。


2、水彩素材将作为特效的背景,因此需要降低它的饱和度。选择“图像>调整图层>色相/饱和度”,降低饱和度至-100,将素材变为黑白效果。选择移动工具,将素材往下移,将背景底部的白色显示出来。

3、在图层面板中选择创建色调分离图层,色阶为8创建出垃圾摇滚特效。

4、创建渐变调整图层,选择线性渐变模式,创建渐变颜色为深红色#901026到白色。完成后,设置渐变调整图层的混合模式为柔光。

二、设计主题
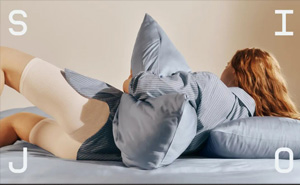
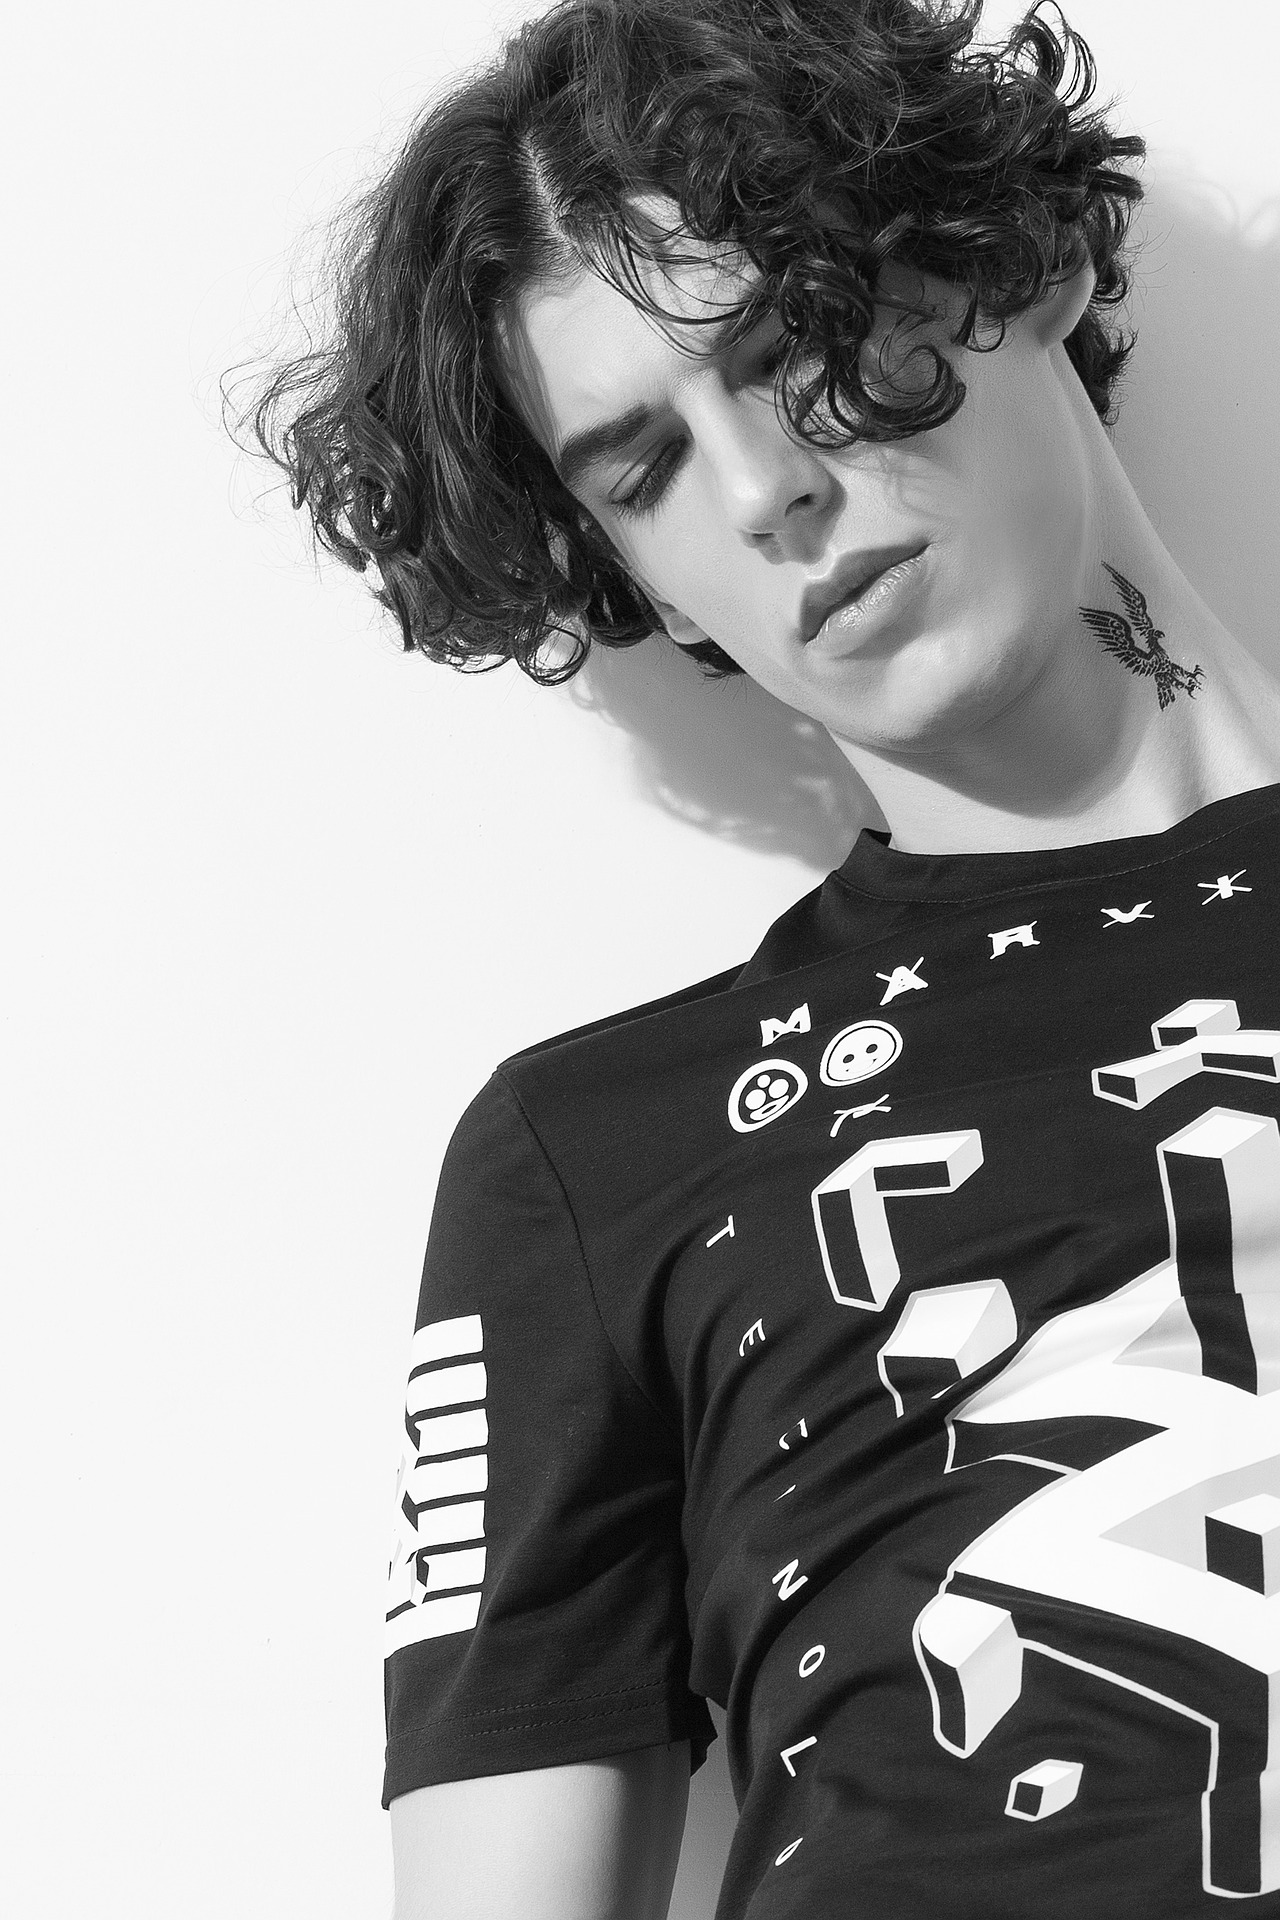
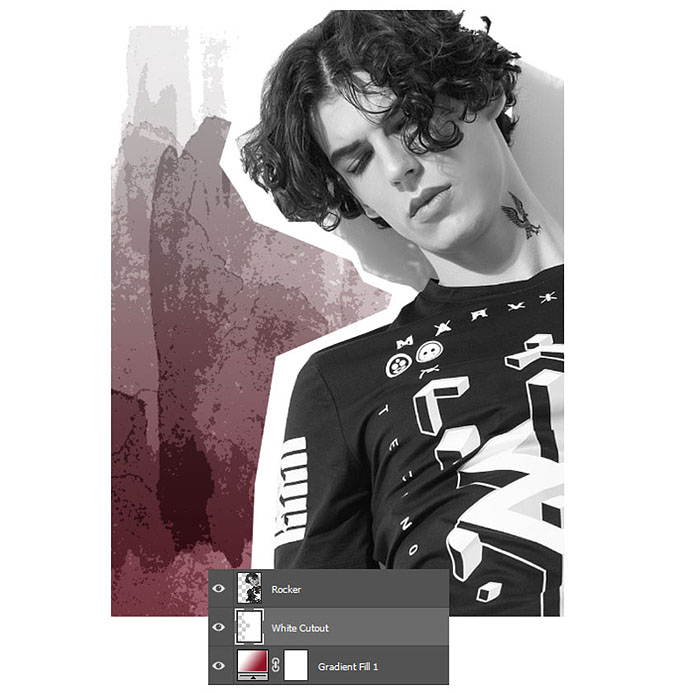
1、在Photoshop打开摇滚歌手,选择磁性套索工具,在人物周围创建大致的选区。将摇滚歌手复制粘贴到背景图层上方。


2、在摇滚歌手图层下方创建新图层,选择多边形套索工具,如下图创建切口形状的图像,然后使用油漆工具填充为白色。

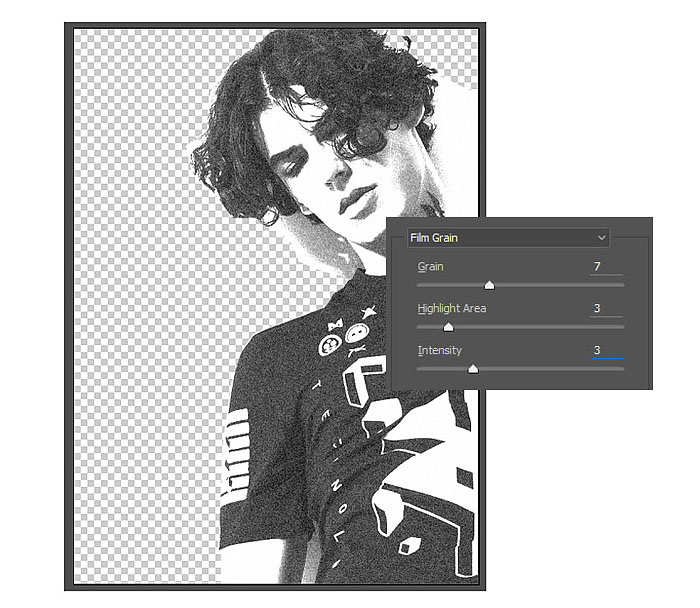
3、选择摇滚歌手图层,选择“滤镜>滤镜库>艺术效果>胶片颗粒”,设置颗粒0、高光区域5、强度10,为人物添加垃圾摇滚特效。

4、应用完上面滤镜后增强了图像的对比度和亮度。再次应用胶片颗粒滤镜,设置颗粒0、高光区域5、强度10。

三、上色
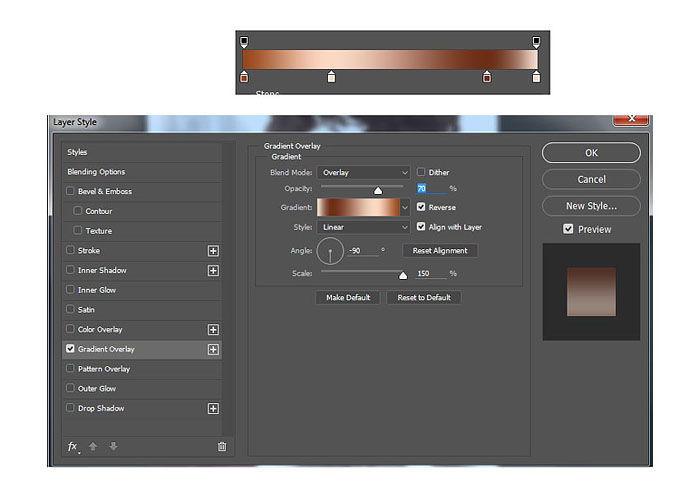
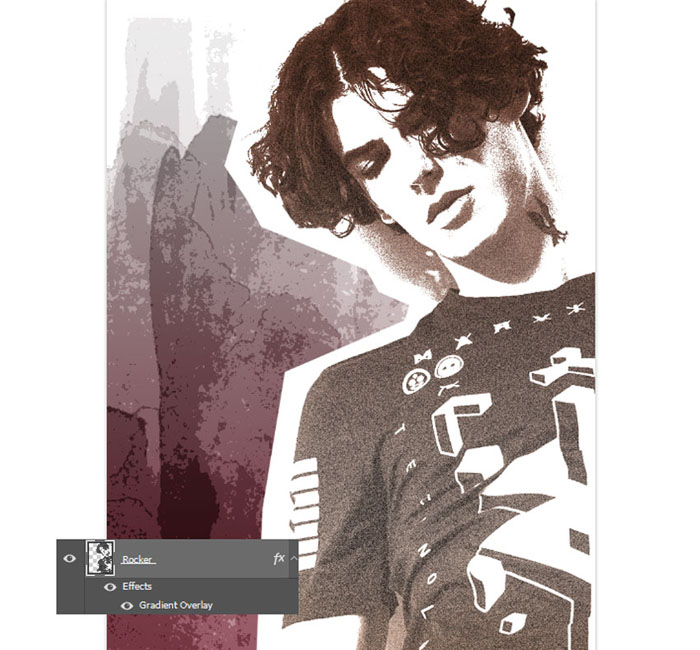
1、对着摇滚歌手图层右击,选择混合选项,如下图添加线性渐变叠加效果,设置混合模式为叠加,将人物上色。


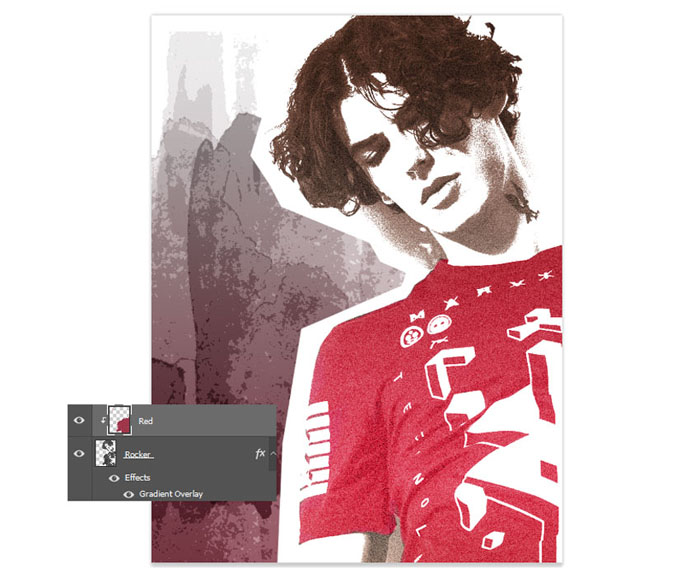
2、创建新图层,设置混合模式为颜色,右击创建为摇滚歌手图层的剪贴蒙版。选择硬笔刷,设置颜色为#d14456,将歌手的T恤涂红。

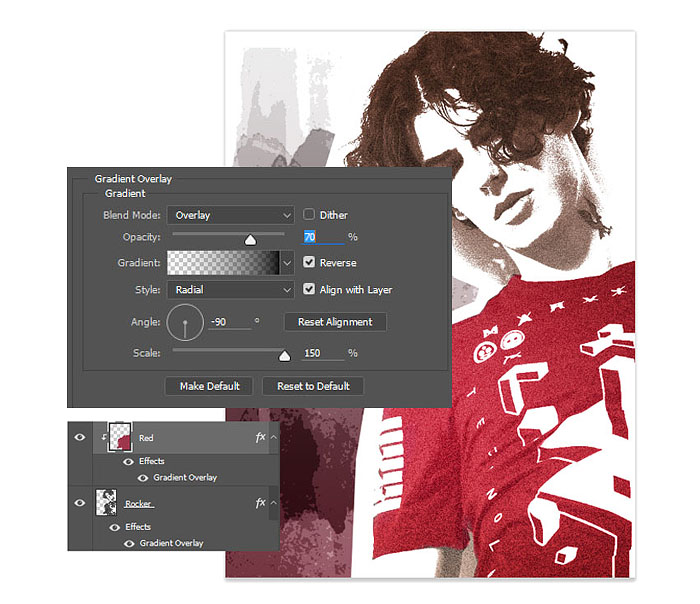
3、对着红色图层右击选择混合选项,为了让颜色更加好看,对T恤添加线性渐变叠加,设置如下图。

4、为了进一步激发这种效果,创建色阶调整图层,并设置为剪贴蒙版。如下图调整RGB通道。

四、润色
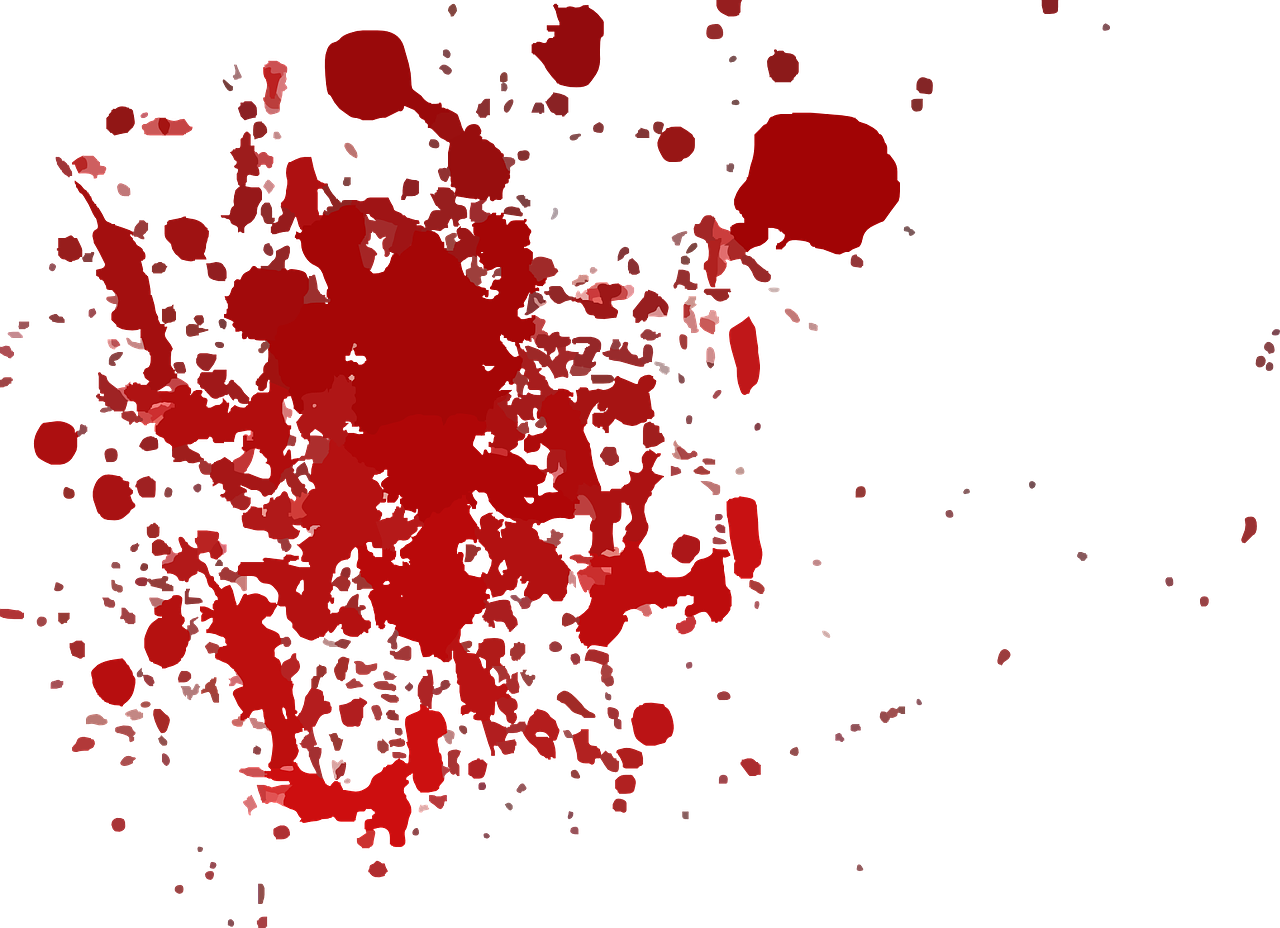
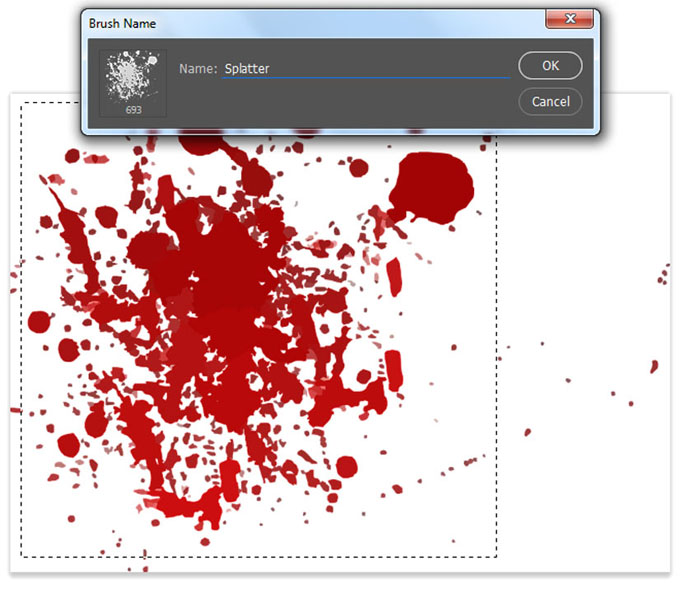
1、垃圾摇滚效果基本已经完成,下面进行最后的润色工作。将飞溅素材打开,然后选择矩形选框工具,选择“编辑>自定义预设画笔”,创建新画笔。

<点小图查看大图>

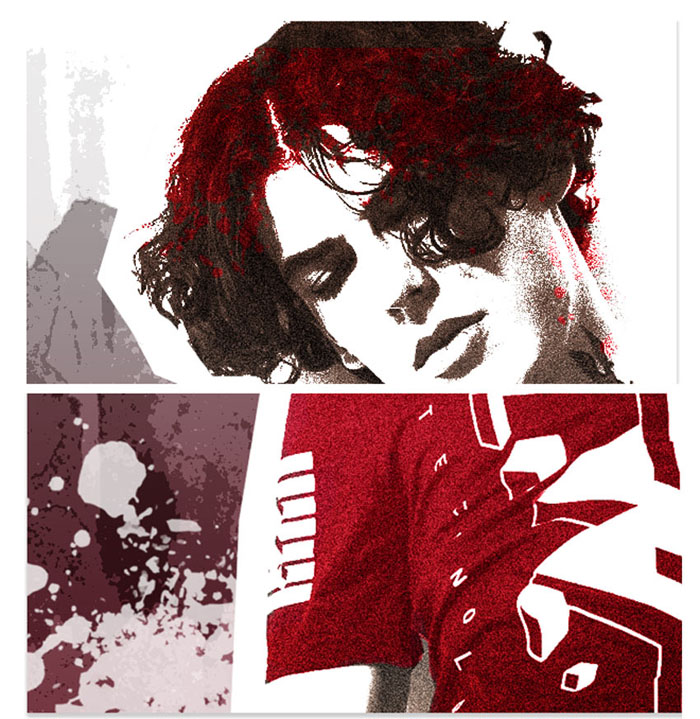
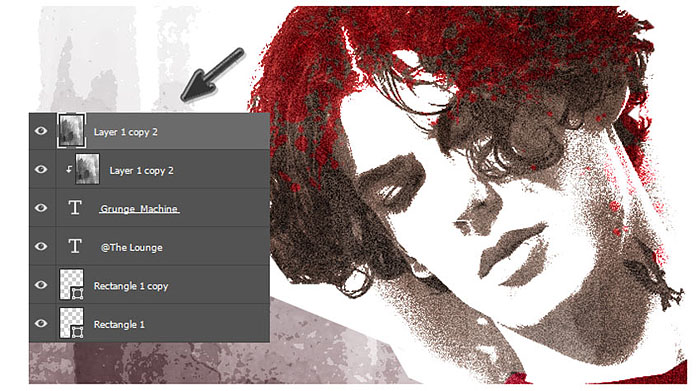
2、选择刚刚制作的飞溅画笔,为特效添加飞溅纹理。首先选择红色图层,在人物头发添加。然后创建新图层,如下图在人物左下角添加白色飞溅图案。

3、选择矩形工具,在人物右下角添加两个白色长方形。待会要在上面添加文字。

4、下载字体Marker Twins或者Grunge Fonts。然后根据喜好输入文字。这里要为文字添加底纹效果。将黑白效果的水彩背景复制创建为新图层,这里操作两次。其中一个复制背景设置为文字图层的剪贴蒙版,设置复制背景图层的混合模式为加亮。

5、将另外一个背景复制图层移动到图层组上方,设置混合模式为柔光。这样可以为画面添加更多的垃圾摇滚风格化元素。

最终效果:

扫码关注公众号 获取更多设计资源...
↓↓↓
【白嫖福利 | 限时领取】
摹客超级版会员(价值1250元)解锁摹客协作、摹客RP、摹客DT所有功能。
公众号主页发送 “激活” 免费获取 激活码
↓↓↓
公众号主页发送 “字体” 获取 全套可商用字体包...
↓↓↓
公众号主页发送 “vi” 获取 500个著名品牌vi设计手册...
↓↓↓
【白嫖福利 | 限时领取】
摹客超级版会员(价值1250元)解锁摹客协作、摹客RP、摹客DT所有功能。
公众号主页发送 “激活” 免费获取 激活码
↓↓↓
公众号主页发送 “字体” 获取 全套可商用字体包...
↓↓↓
公众号主页发送 “vi” 获取 500个著名品牌vi设计手册...
标签:人物海报