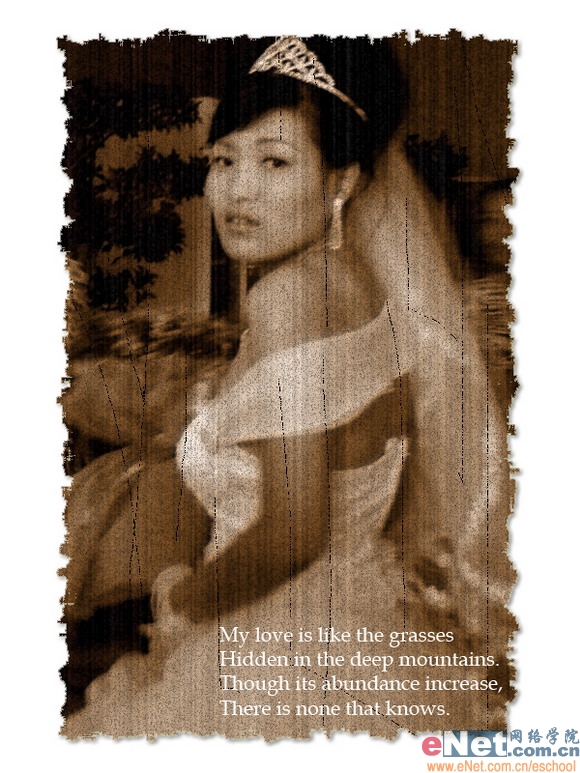
先看一下效果:
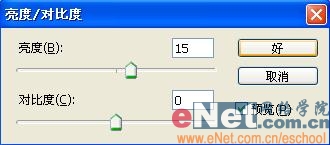
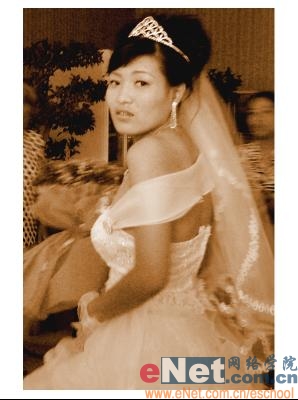
4、选择菜单栏中的“图像”“调整”“亮度/对比度”命令,设置参数如图06所示,图像效果如图07所示。

制作工具:Photoshop CS
制作过程:
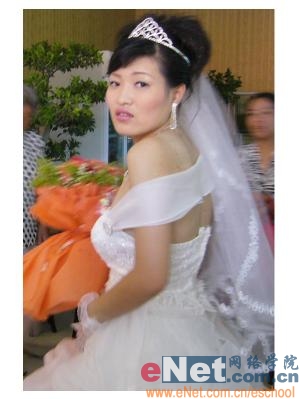
1、打开一张婚纱照片,效果如图01所示。

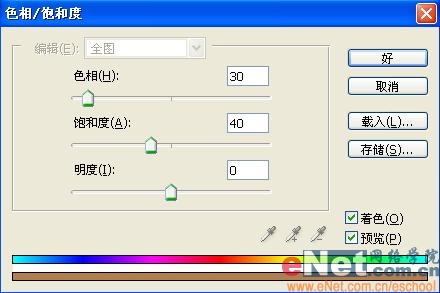
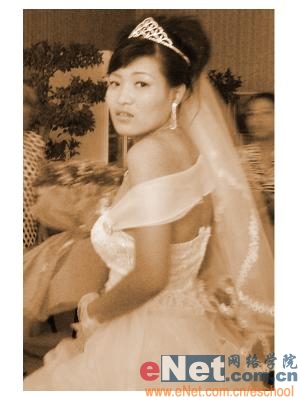
2、选择菜单栏中的“图像”“调整”“色相/饱和度”命令,设置色相为30,饱和度为40,如图02所示,图像效果如图03所示。


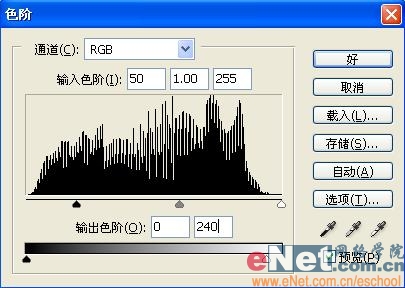
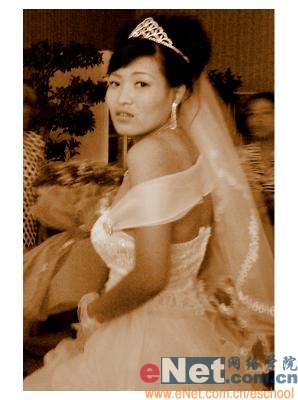
3、选择菜单栏中的“图像”“调整”“色阶”命令,设置参数如图04所示,图像效果如图05所示。


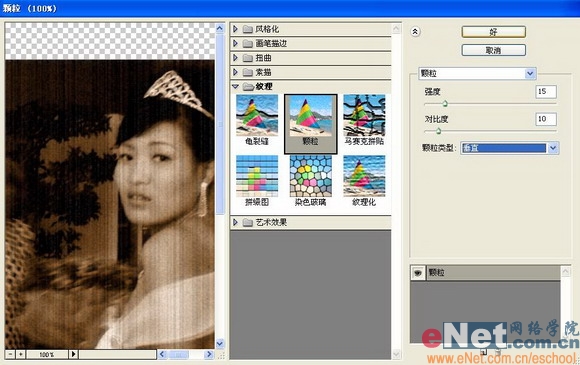
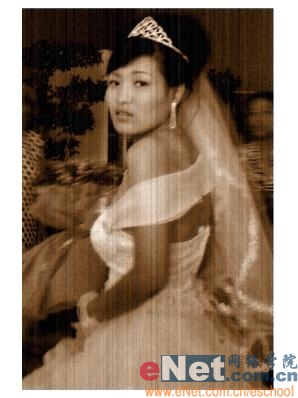
5、执行菜单栏中的“滤镜”“纹理”“颗粒”命令,并在弹出的颗粒对话框中设置强度为15,对比度为10,颗粒类型为垂直,如图08所示,图像效果如图09所示。


6、新建一个图层,图层1。设置前景色为白色,按Alt+Delete键填充颜色。
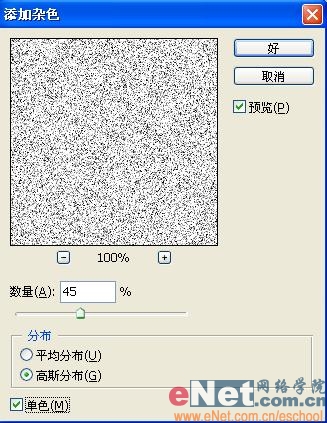
7、选择菜单栏中的“滤镜”“杂色”“添加杂色”命令,并在对话框中设置数量为45%,高斯分布,单色,如图10所示,效果如图11所示。


标签:怀旧婚纱照