14、用白色填充选区,效果如图23所示。
15、按Ctrl+T键,稍微缩小对象,然后给图层A添加图层蒙版,设置前景色和背景色为默认颜色,在窗口中拖动鼠标,图像效果如图24所示。

16、复制图层A为图层B,选择“编辑”“变换”“垂直翻转”命令,将图像移动到下方,效果如图25所示。
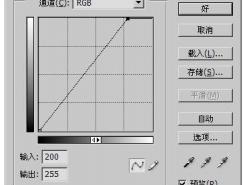
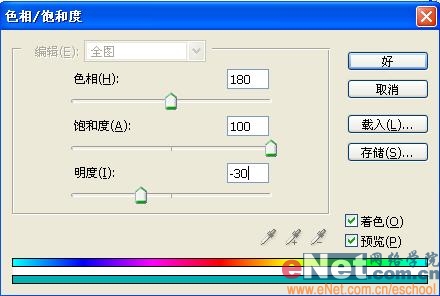
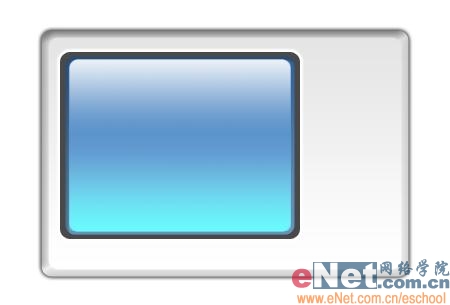
17、选择菜单栏中的“图像”“调整”“色相/饱和度”命令,打开色相/饱和度对话框设置参数如图26所示,图像效果如图27所示。
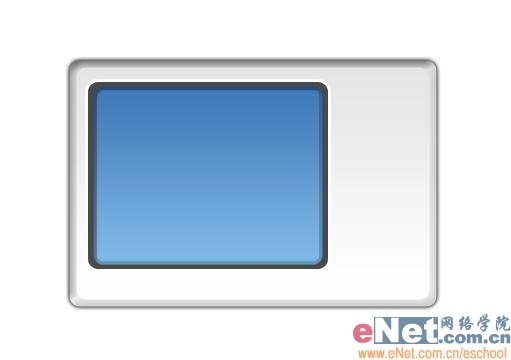
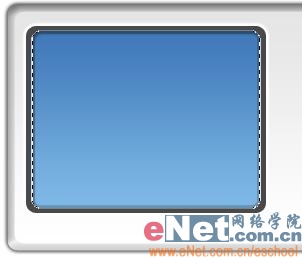
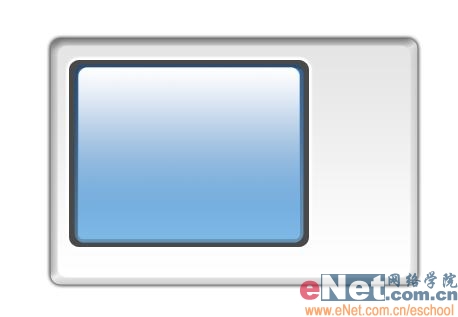
19、将制作好的按钮和文字拖入图像中放到适当的位置,效果如图29所示。
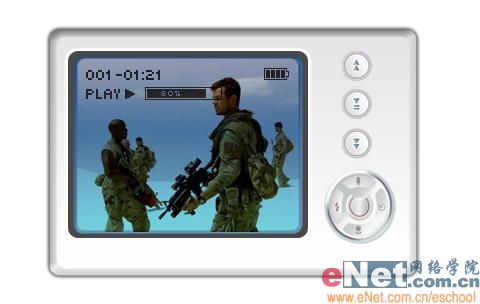
20、打开一幅自己喜欢的图片,裁切到合适的大小,放到位置如图30所示。设置该图层的图层混合模式为“正片叠底”,图像效果如图31所示。

21、制作投影后最终效果如图32所示。
标签: