10、用工具箱中的“钢笔工具”绘制出扇骨的基本形状,然后复制图层,添加图层样式如图10所示,调整骨架的位置,得到效果如图11所示。
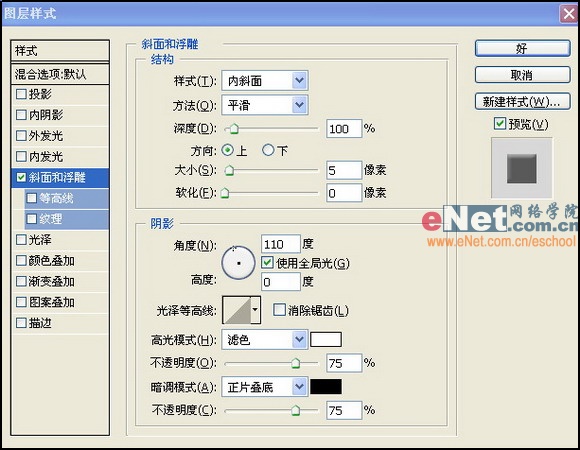
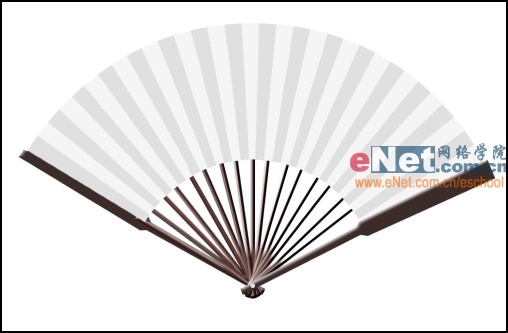
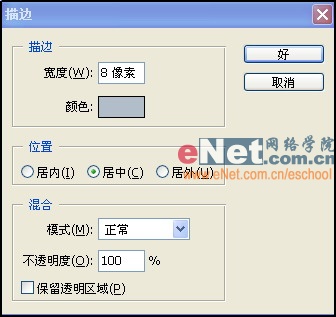
11、新建一个图层,在工具栏中选择“磁性套索”工具,沿着扇子的边缘选出如图12所示的选区,选择菜单栏中的“编辑”“描边”命令,设置描边值为8,颜色为蓝灰色,描边位置居中,如图13所示,画面效果如图14所示。


标签:王伟光
10、用工具箱中的“钢笔工具”绘制出扇骨的基本形状,然后复制图层,添加图层样式如图10所示,调整骨架的位置,得到效果如图11所示。
11、新建一个图层,在工具栏中选择“磁性套索”工具,沿着扇子的边缘选出如图12所示的选区,选择菜单栏中的“编辑”“描边”命令,设置描边值为8,颜色为蓝灰色,描边位置居中,如图13所示,画面效果如图14所示。