


先看效果
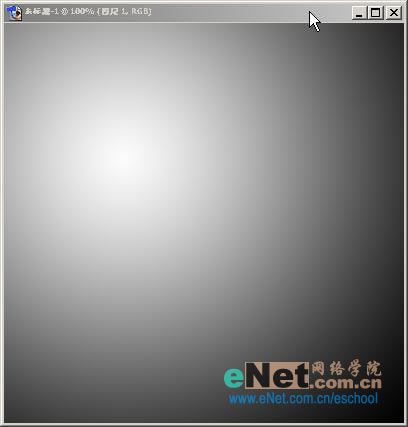

1.新建一个前景色为黑色,背景色为白色,内容为白色的RGB文件
2.在工具箱中选择渐变工具,使用径向渐变.在窗口中渐变 如图1

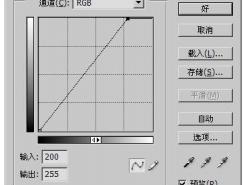
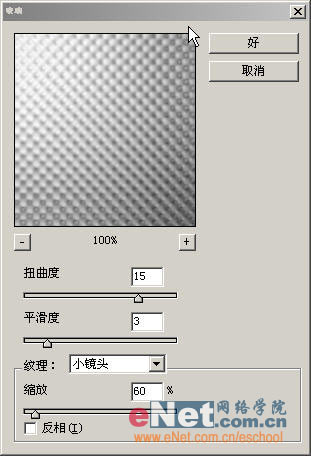
3.在选择滤镜/扭曲/玻璃,进行如图2的设置

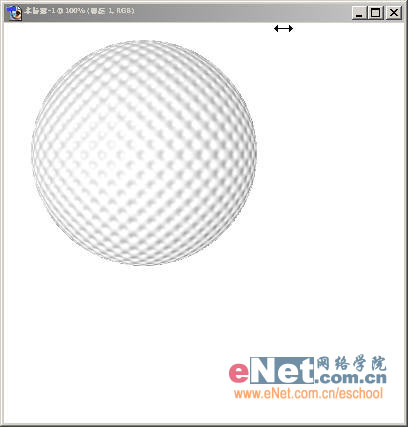
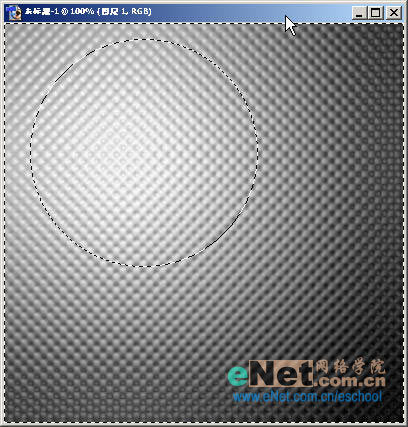
4.在工具箱中选择椭圆型选取工具,在窗口中画一个圆,如图3

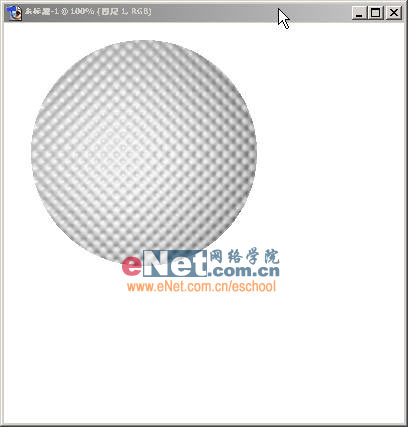
5.在按住CTRL+SHIFT+I进行反选 然后删除多余部分,如图4


扫码关注公众号 获取更多设计资源...
↓↓↓
【白嫖福利 | 限时领取】
摹客超级版会员(价值1250元)解锁摹客协作、摹客RP、摹客DT所有功能。
公众号主页发送 “激活” 免费获取 激活码
↓↓↓
公众号主页发送 “字体” 获取 全套可商用字体包...
↓↓↓
公众号主页发送 “vi” 获取 500个著名品牌vi设计手册...
↓↓↓
【白嫖福利 | 限时领取】
摹客超级版会员(价值1250元)解锁摹客协作、摹客RP、摹客DT所有功能。
公众号主页发送 “激活” 免费获取 激活码
↓↓↓
公众号主页发送 “字体” 获取 全套可商用字体包...
↓↓↓
公众号主页发送 “vi” 获取 500个著名品牌vi设计手册...
标签:制作